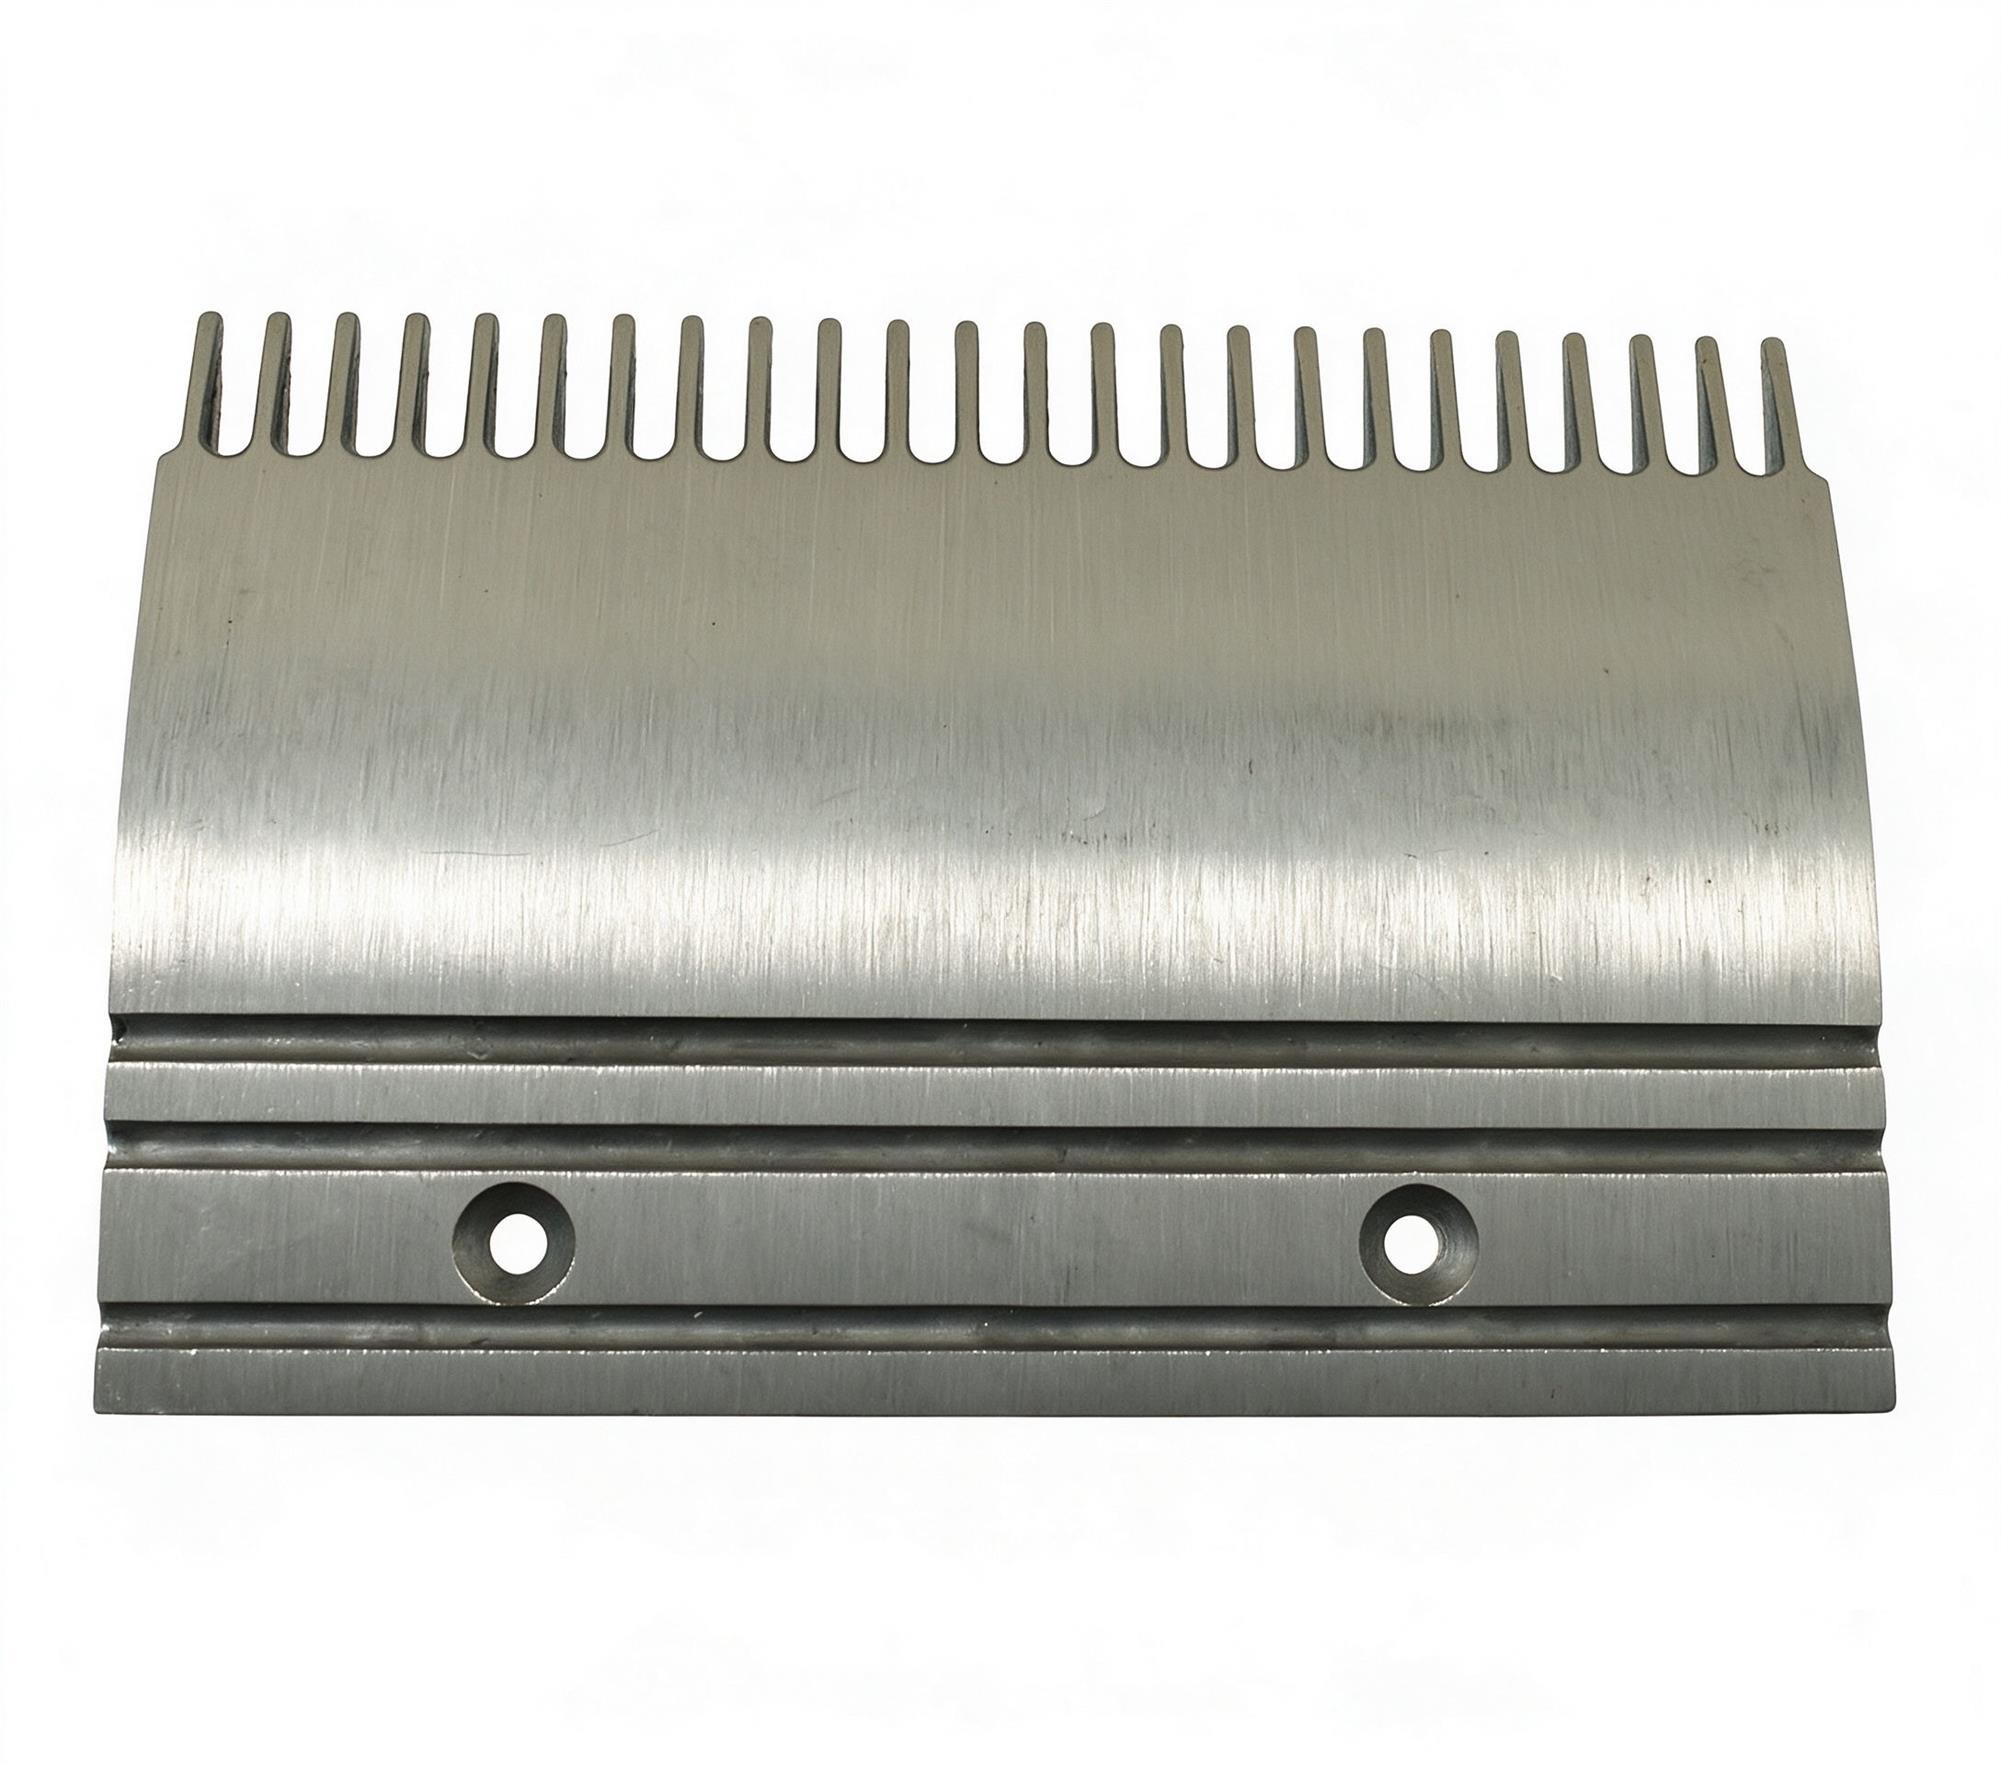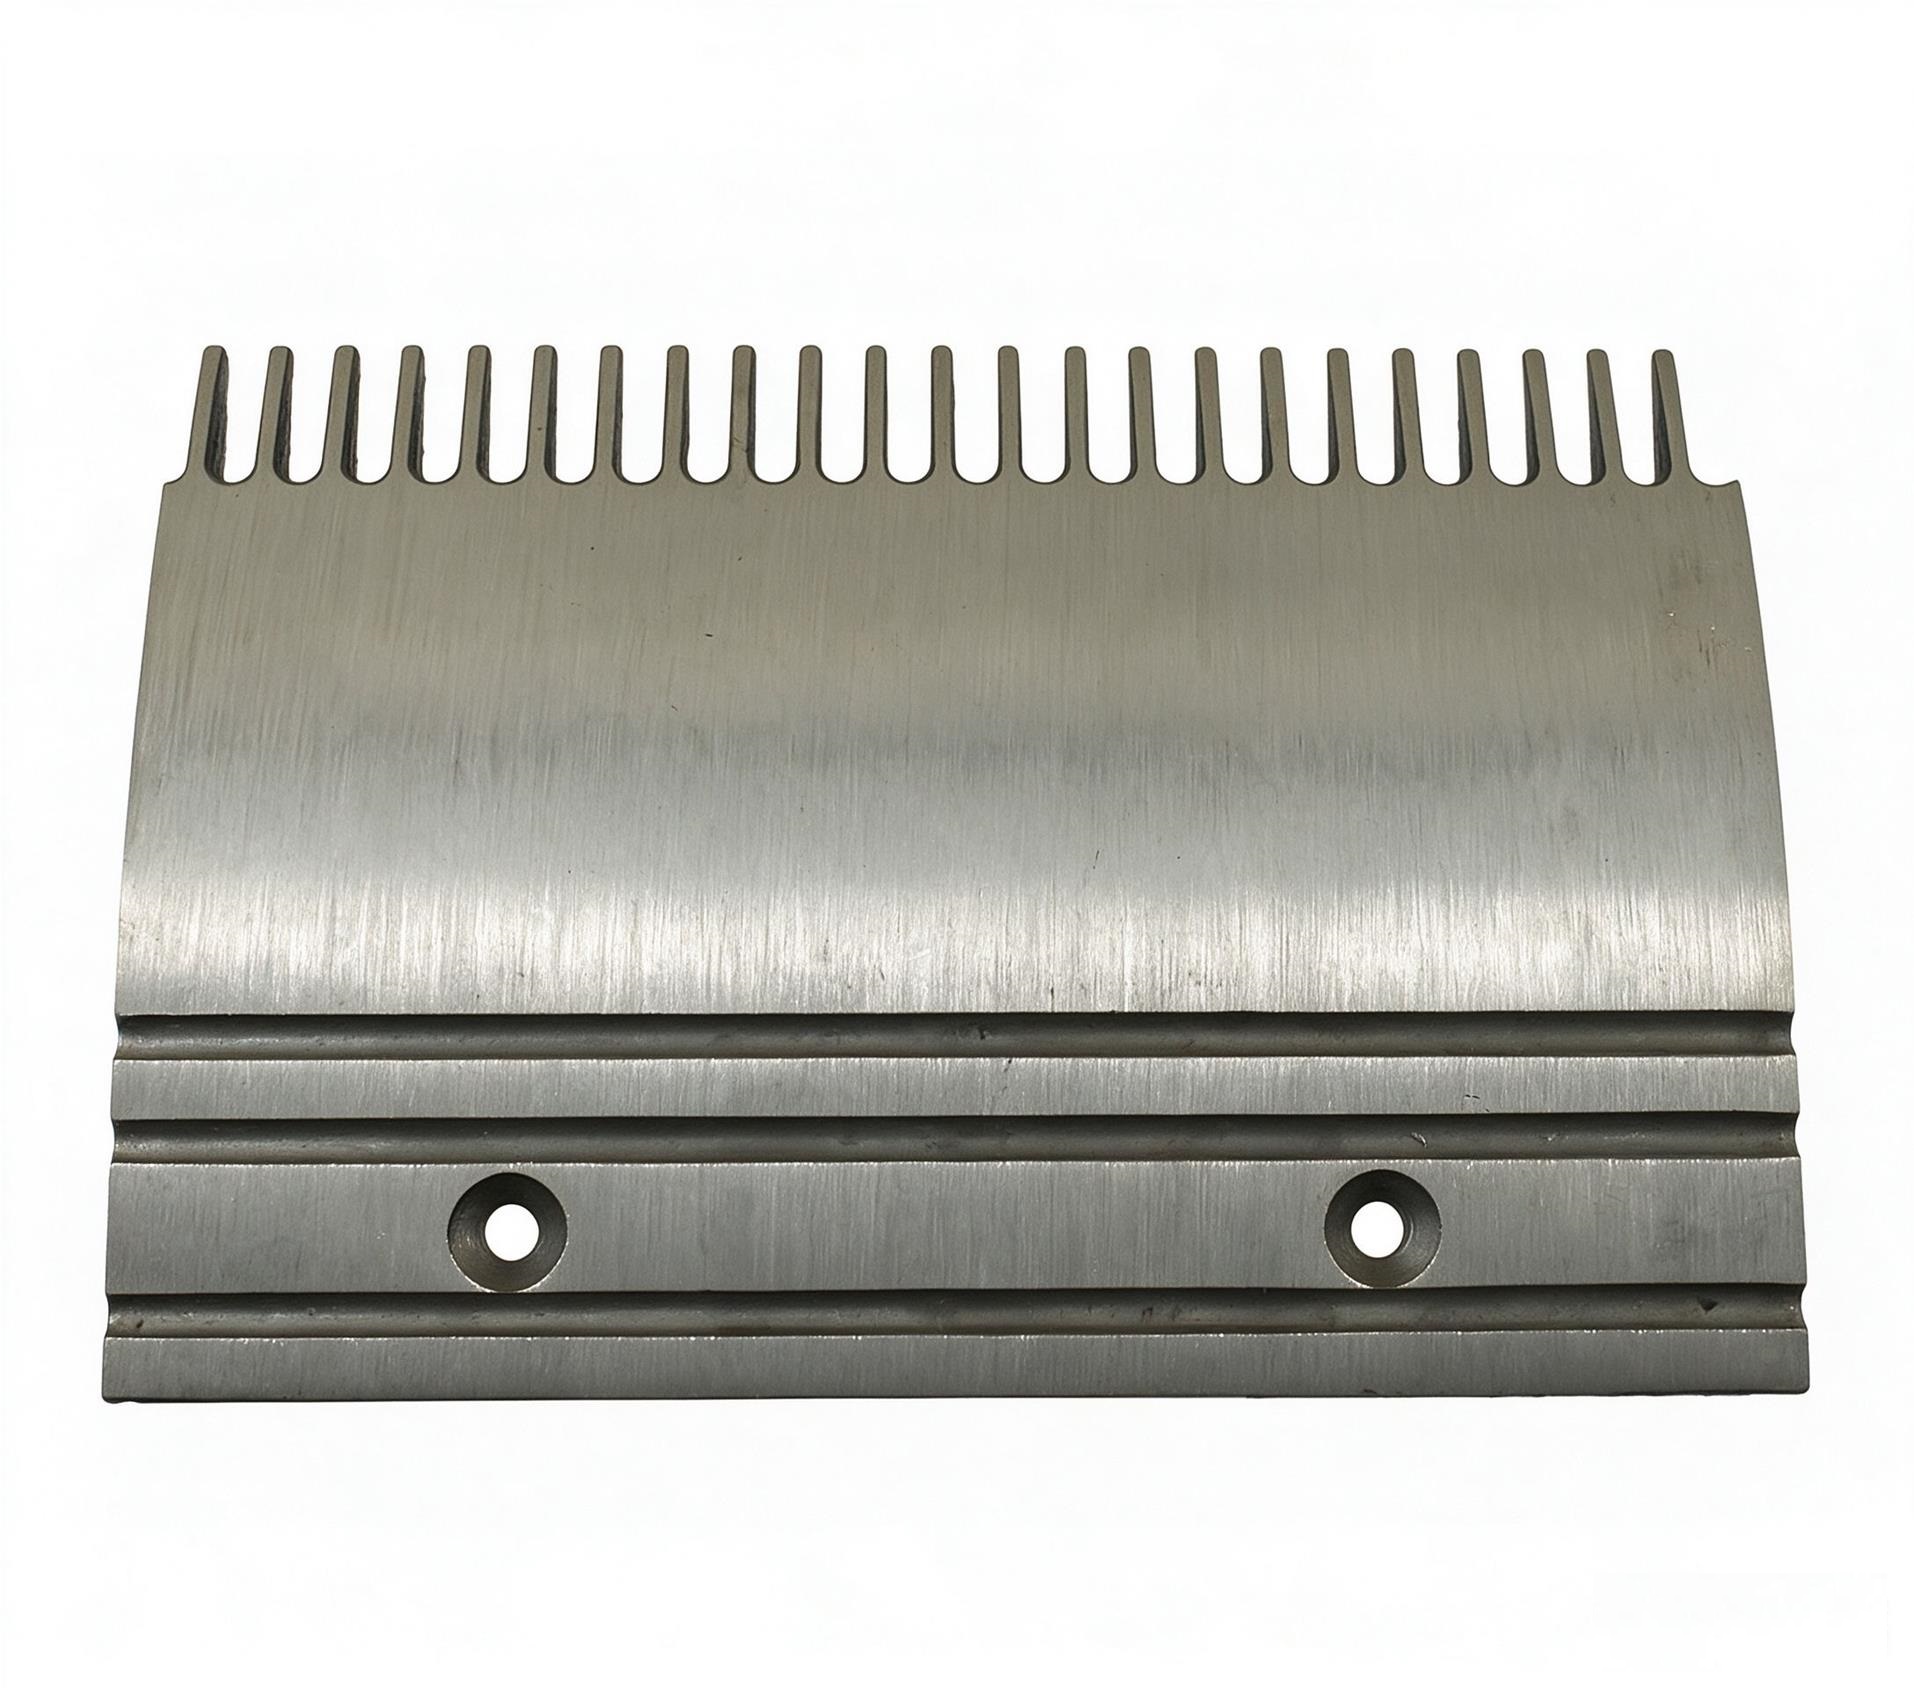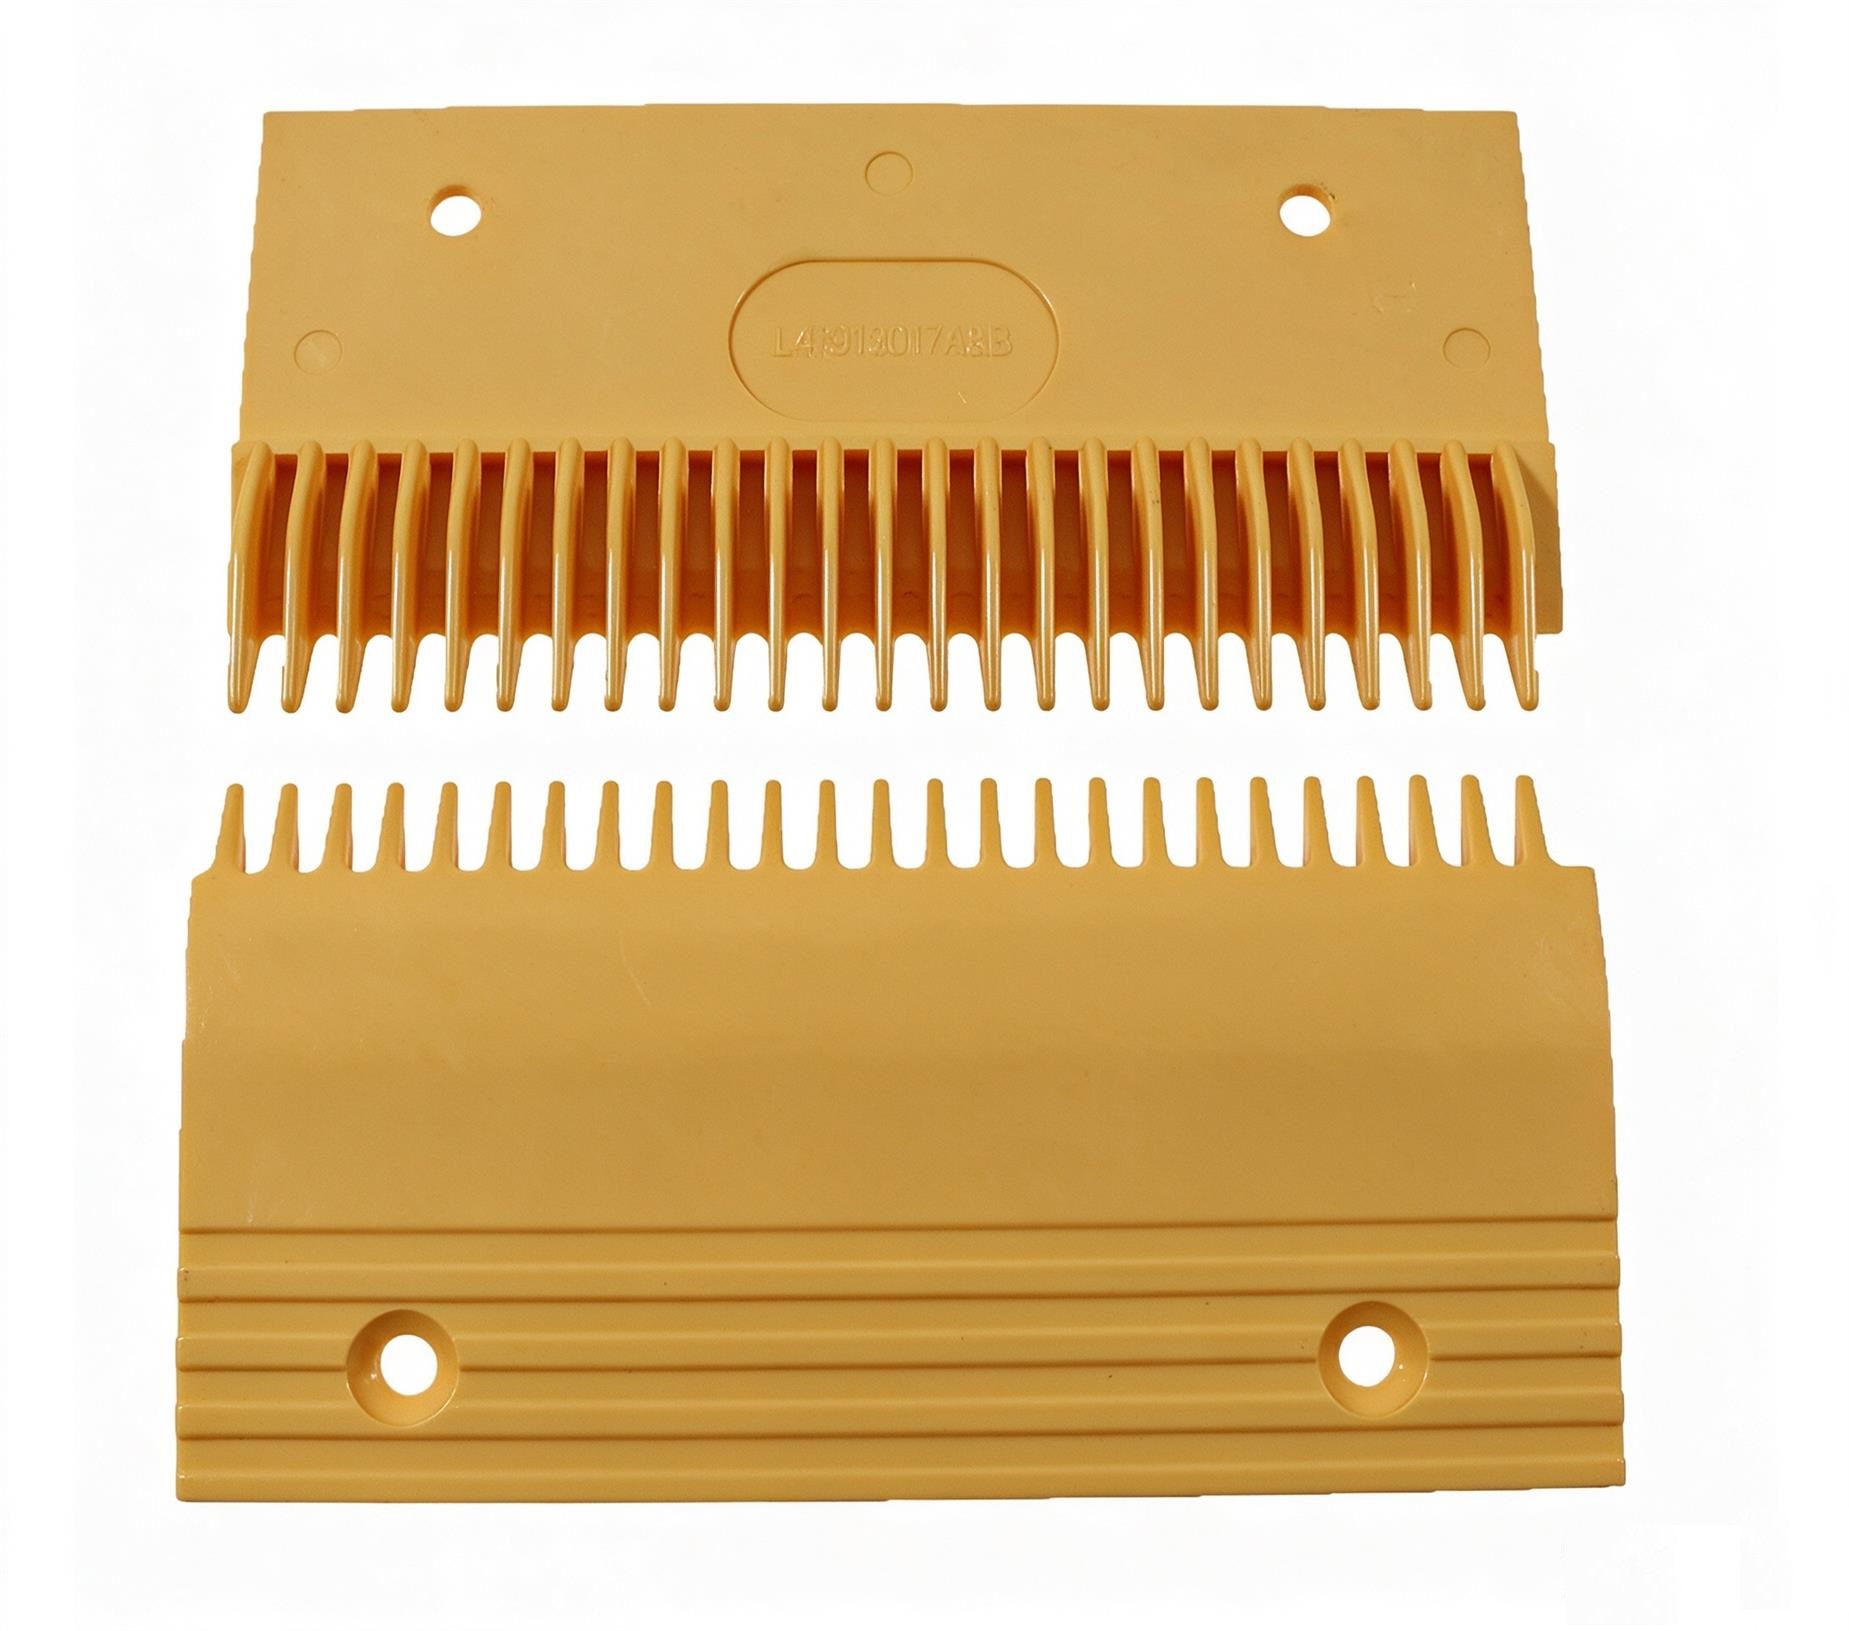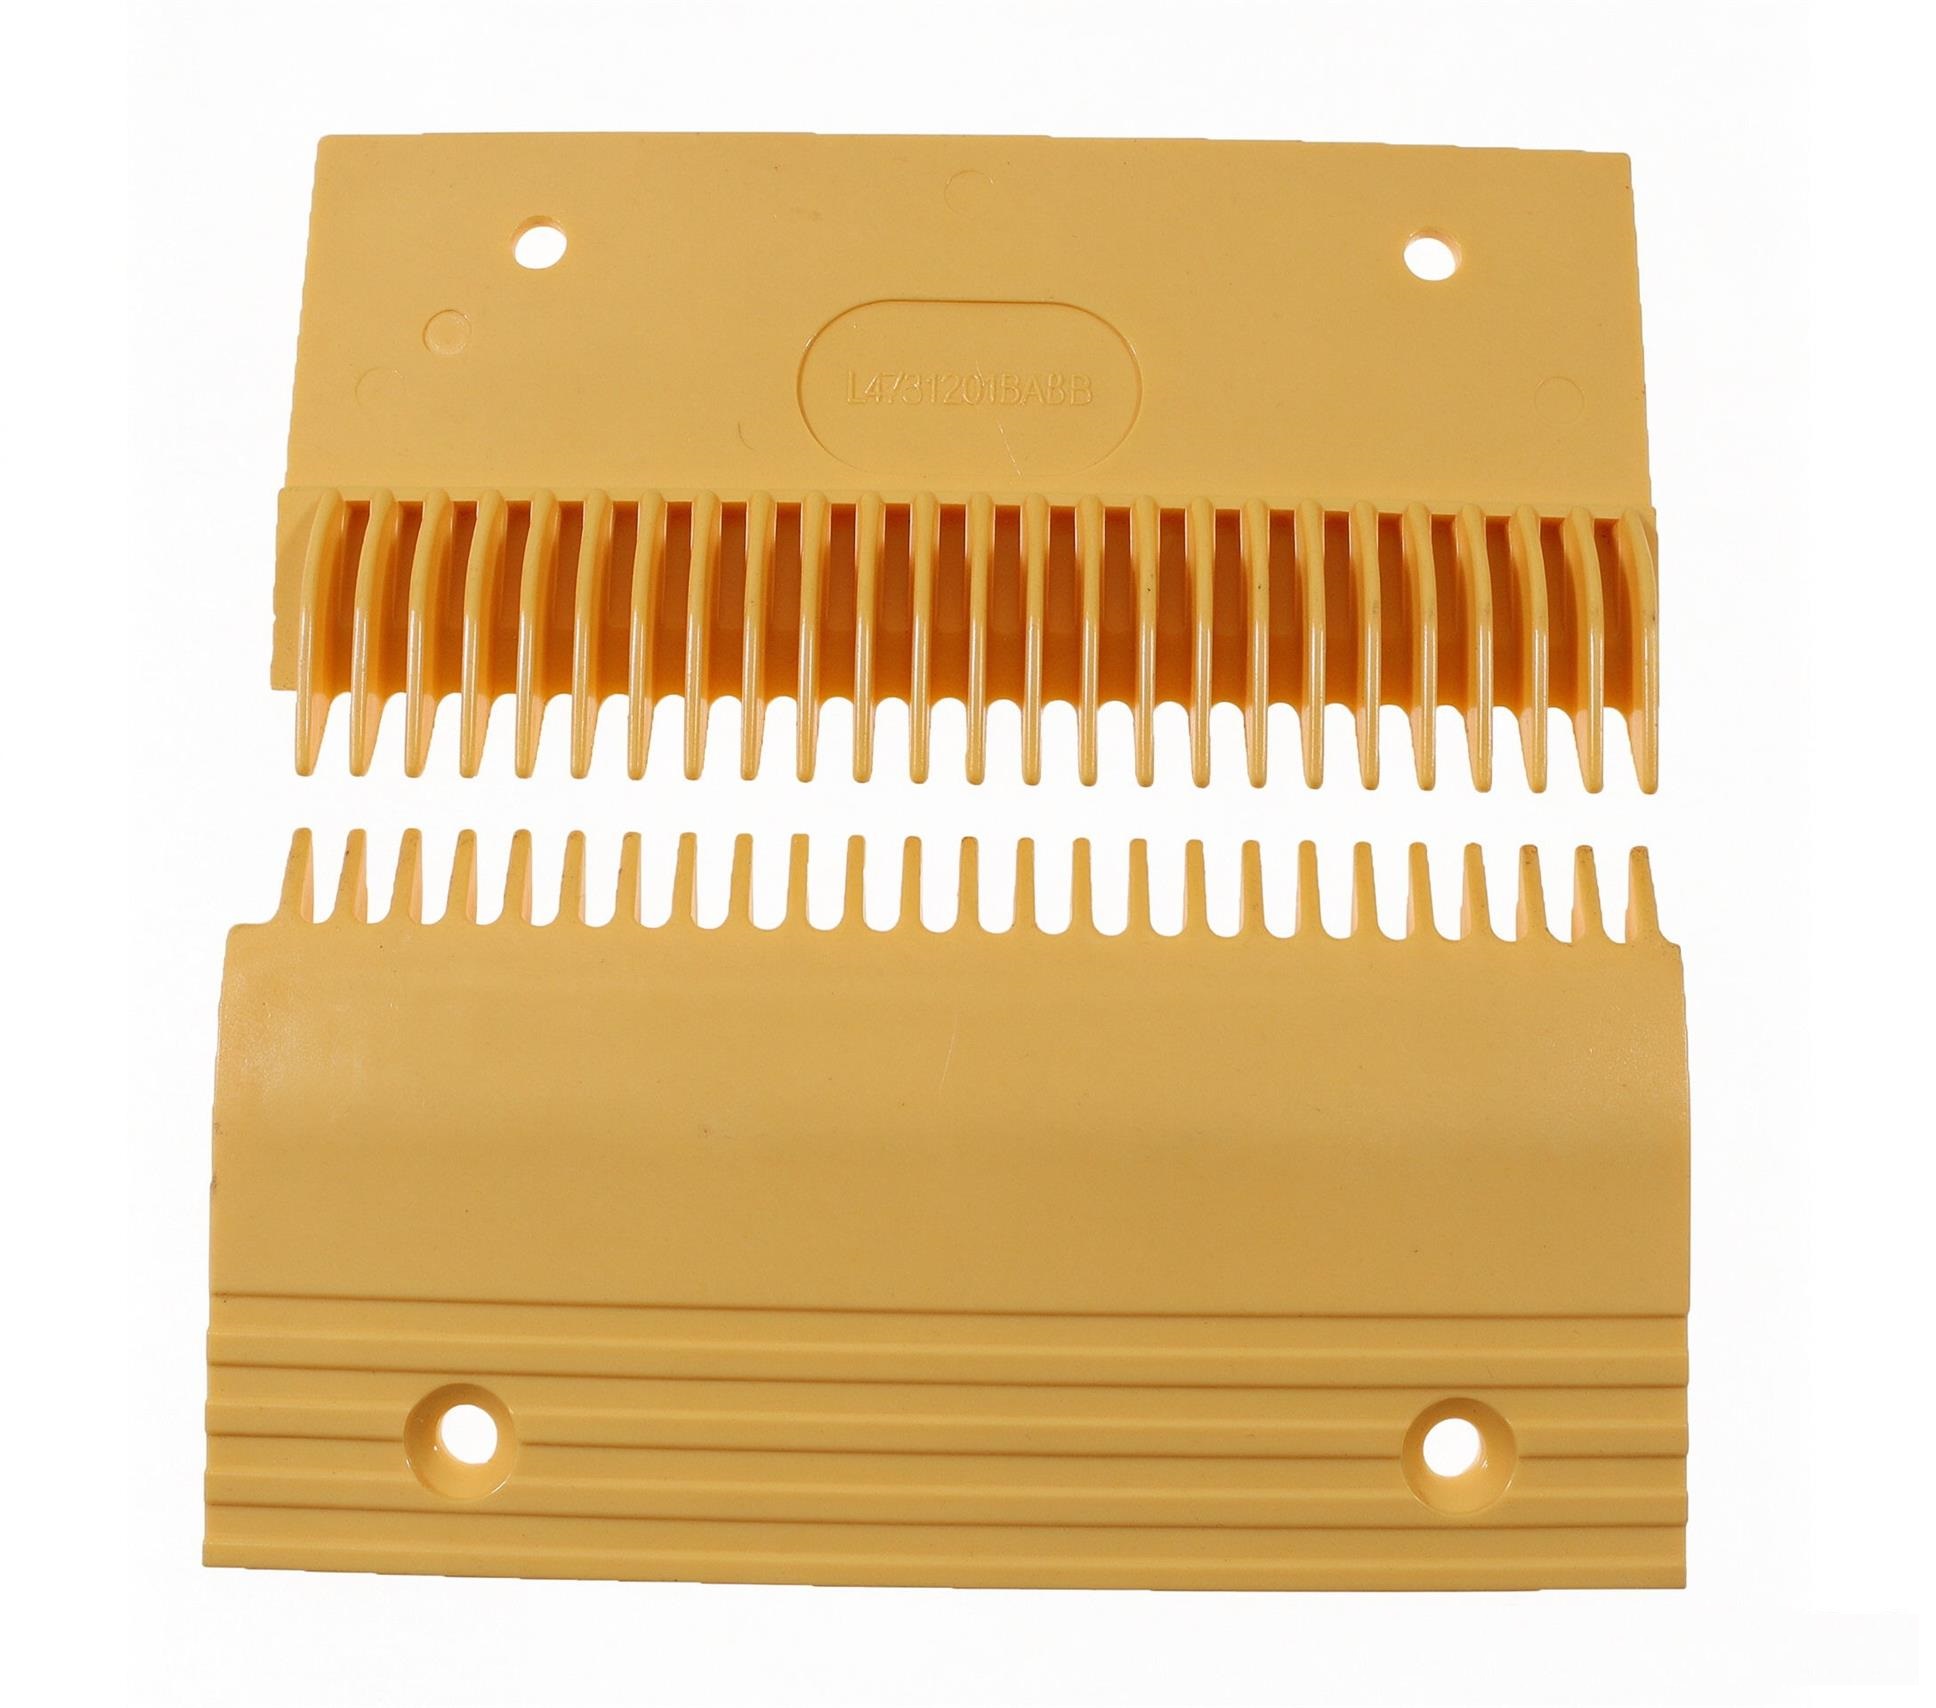
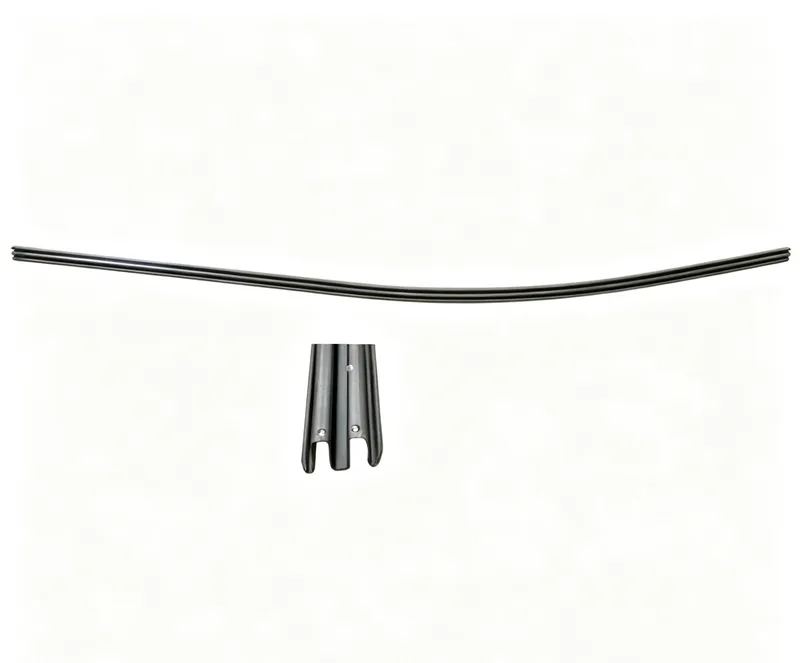
Handrail steel guide curve(up entrance),3 flat steps,35°,balustrade 930mm

Handrail steel guide curve(up entrance),3 flat steps,35°,balustrade 930mm
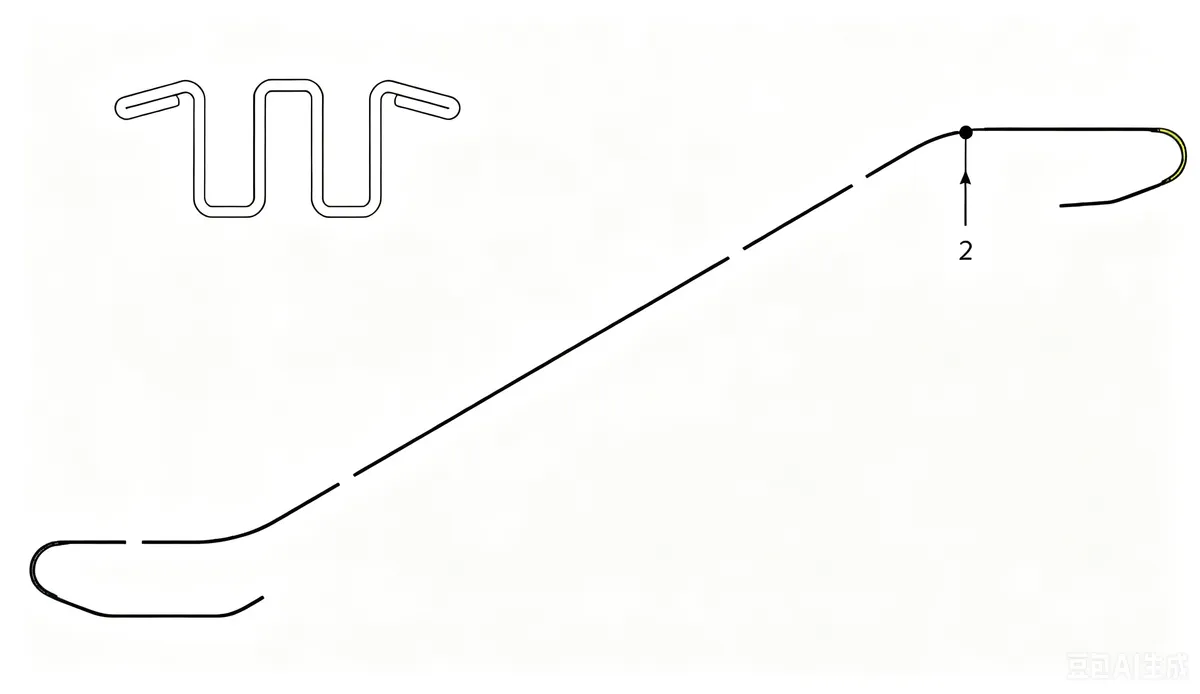
OEM XBA402ALW4
Size 3330mm
Shape Curved
Color Silver
Material Steel
Order

    Quick Help: Contact one of our experts and we'll get back to you in 24 hours!

    YouTube
    Instagram
    WhatsApp

    Handrail steel guide curve(up entrance),3 flat steps,35°,balustrade 930mm

    Installation

    Escalator Guide Rail Installation Instructions

    1. Safety Precaution
    • Lockout and tag out escalator power supply before all work
    • Wear certified PPE: safety helmet, gloves, goggles, anti-slip shoes
    • Set safety barriers to prevent unauthorized access to working area
    • Ensure truss structure is stable and load-bearing qualified
    1. Tools & Preparation
    • Tools: laser level, torque wrench, straightedge, feeler gauge, socket set, lifting tools
    • Parts: step guide rail, handrail guide rail, mounting brackets, fishplates, locking bolts
    • Pre-check: rail surface for deformation, cracks or rust; verify model specification matches escalator
    1. Reference Positioning
    • Mark center line and mounting datum line on escalator truss per drawing
    • Confirm bracket spacing within manufacturer’s requirement (max 1.5m standard)
    • Drill and fix mounting brackets on truss; ensure firm welding or bolt fastening
    • Check bracket horizontal level and vertical perpendicularity
    1. Step Guide Rail Installation
    • Place main and auxiliary guide rails on pre-fixed brackets
    • Align rails with datum line, adjust preliminary height and gap
    • Connect rail sections with fishplates; keep joint surface smooth without step deviation
    • Tighten connection bolts symmetrically with specified torque
    • Check rail straightness and lateral deviation via laser level
    1. Handrail Guide Rail Installation
    • Install handrail rail brackets at designated positions
    • Position curved and straight handrail rails on brackets
    • Adjust rail radian and height to ensure consistent handrail running track
    • Smooth all joint chamfers to avoid handrail abrasion
    1. Precision Adjustment
    • Adjust left-right spacing of dual-side step rails within allowable tolerance (±2mm)
    • Correct vertical flatness; max vertical deviation ≤1mm per meter
    • Center step roller wheels on rail surface; keep vertical perpendicularity
    • Eliminate rail distortion, jamming point and sharp edges
    1. Fixation & Reinforcement
    • Retighten all bracket and joint bolts to standard torque value
    • Install anti-loosening washers and locking clips for key fasteners
    • Reinforce loose welding points on truss brackets
    1. Inspection & Commissioning
    • Clean rail surface to remove welding slag, dust and debris
    • Perform manual trial run of step chain and handrail
    • Check for abnormal friction, noise or jamming during movement
    • Run no-load test for 10 minutes; recheck deviation and tightness
    • Submit for acceptance after all parameters meet specification

    Common question

    Delivery time About 5-10 days in peak season.
    Warranty period 12 months.
    Product packaging Carton or wooden box/pallet, depending on the different situations.

    You Also Like