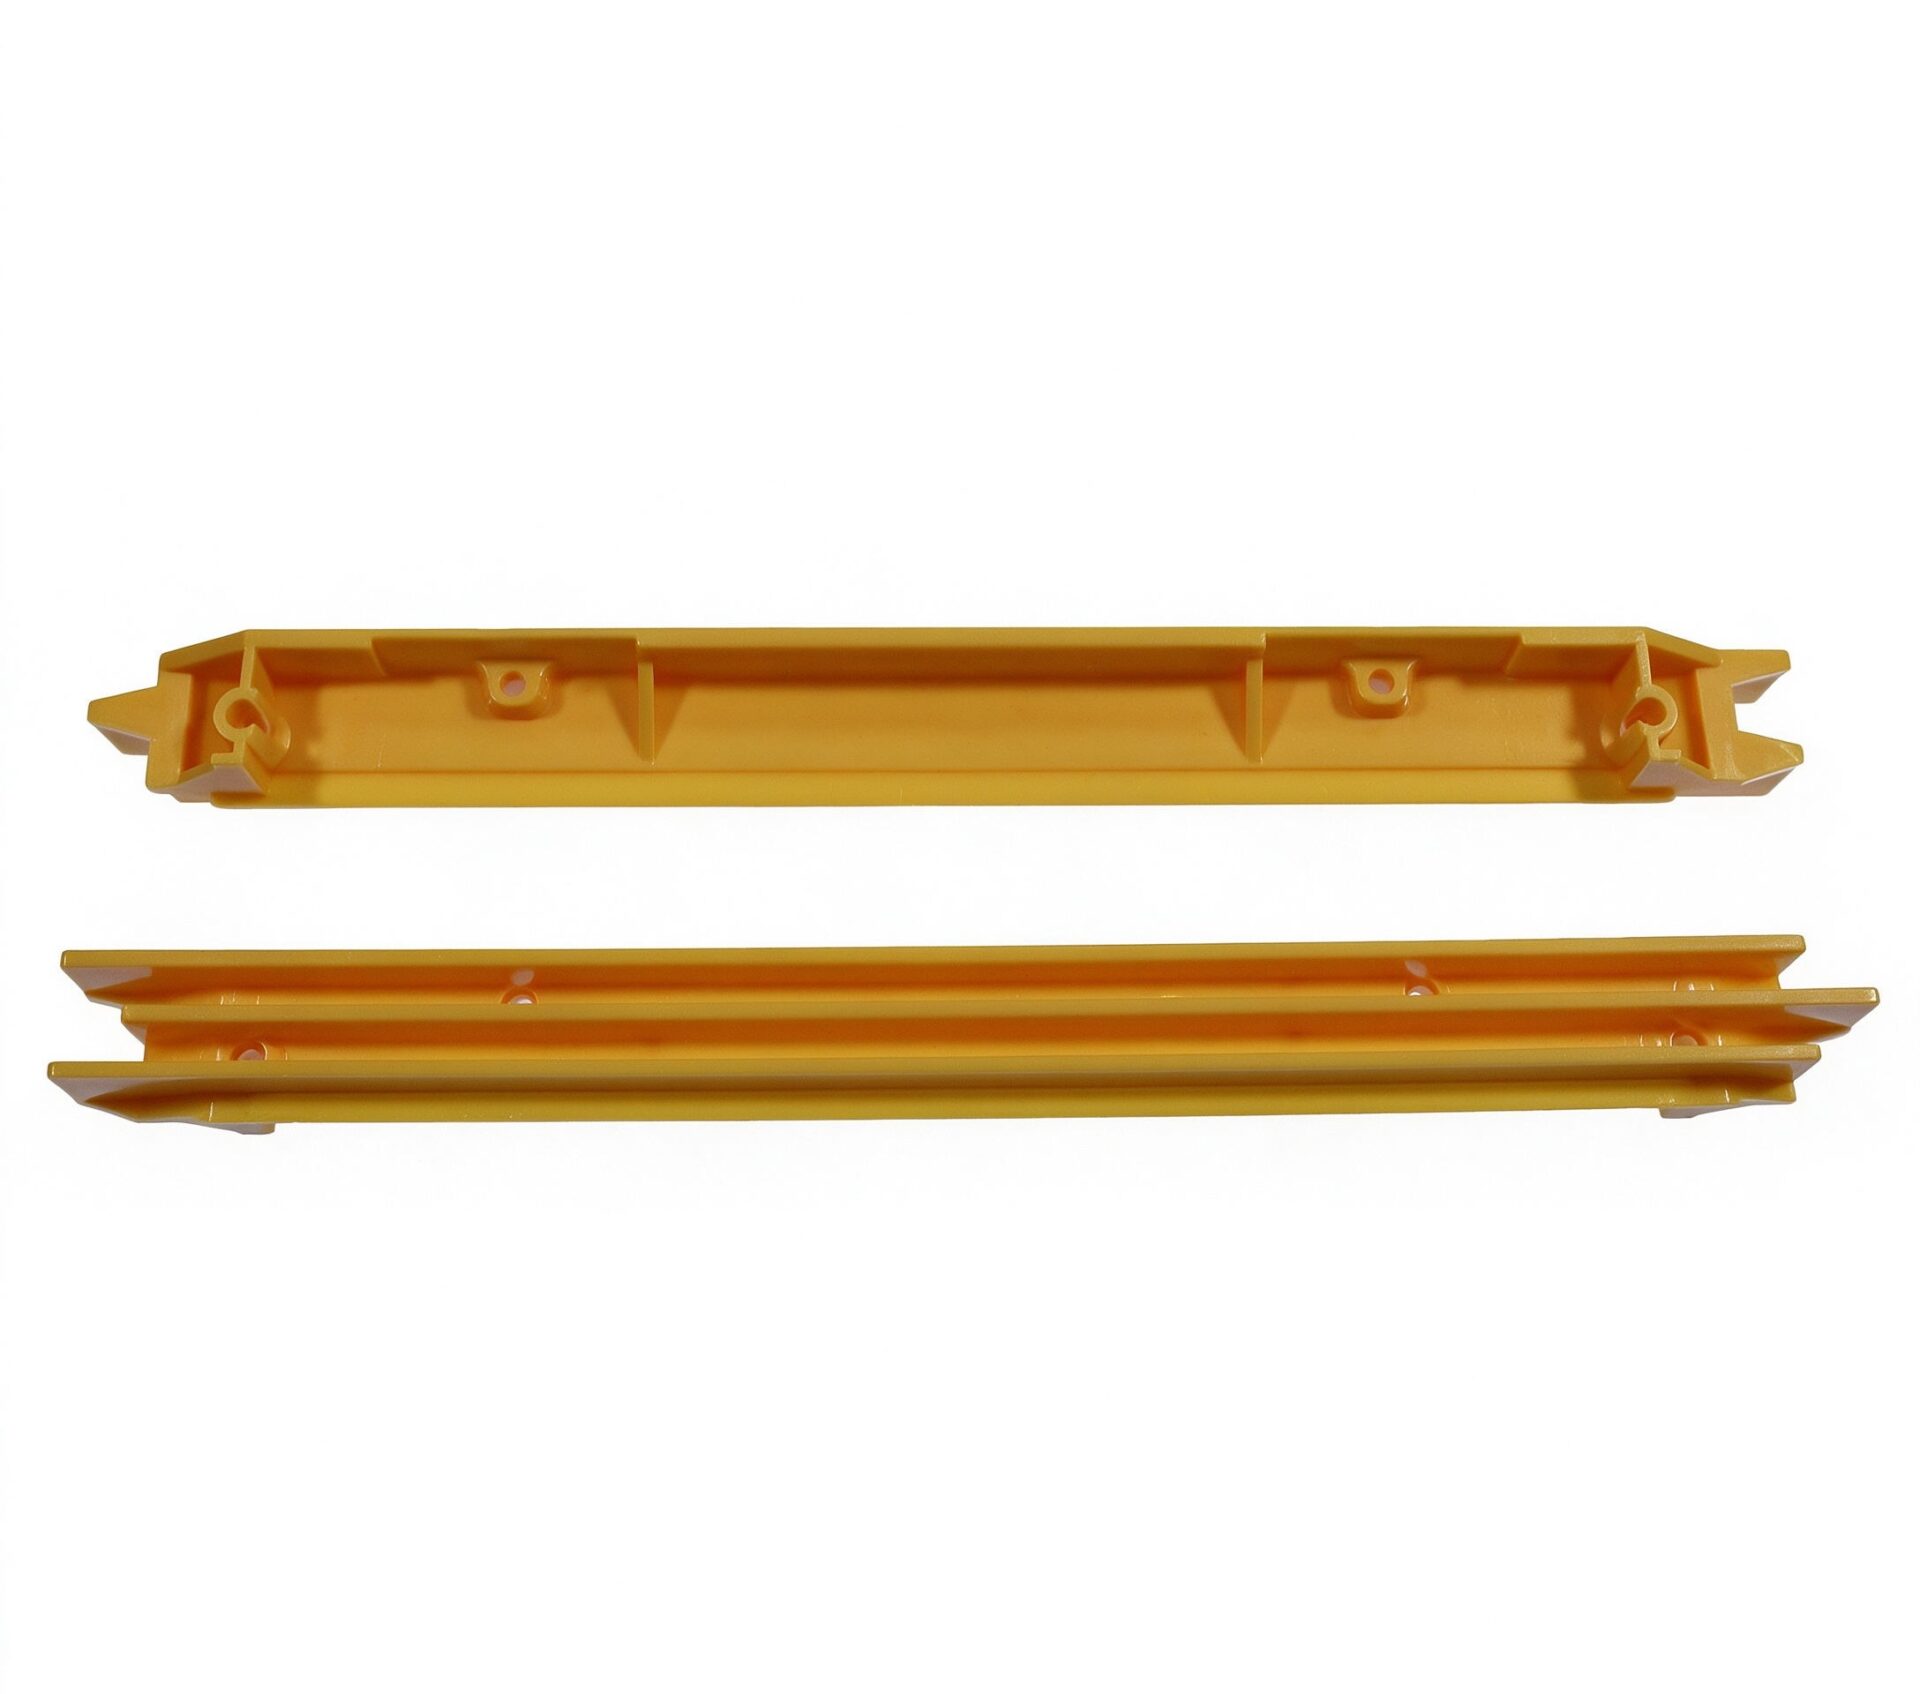
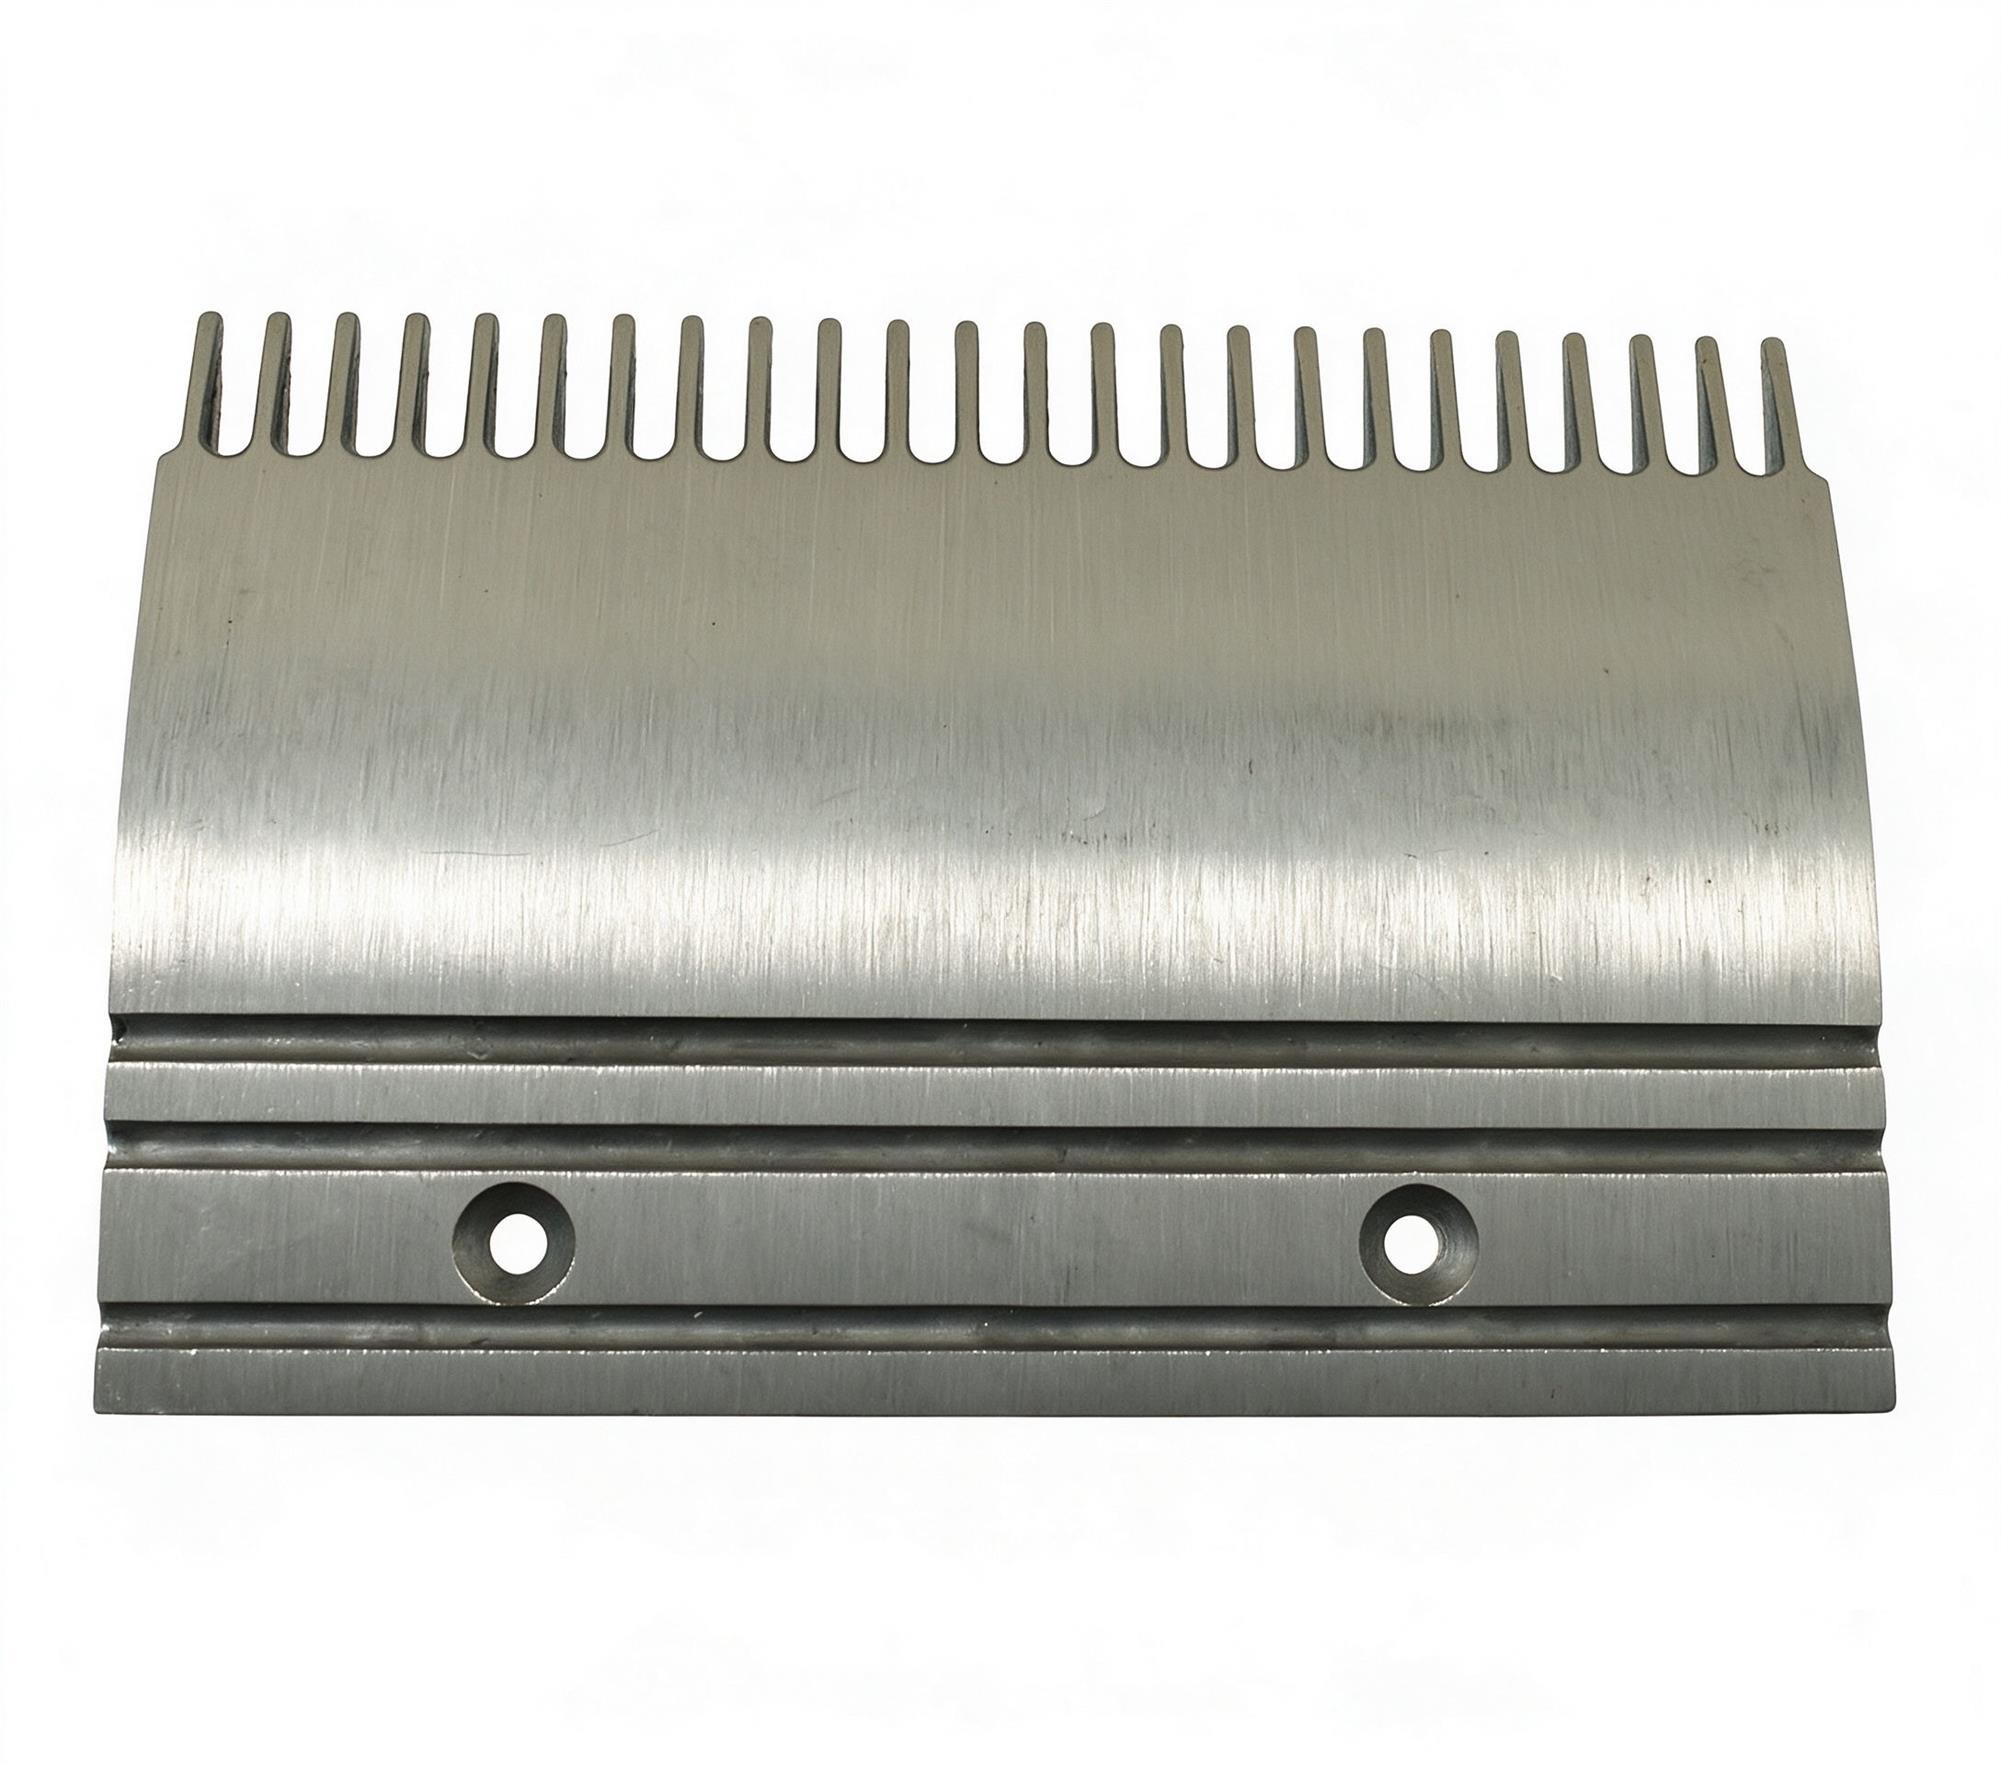
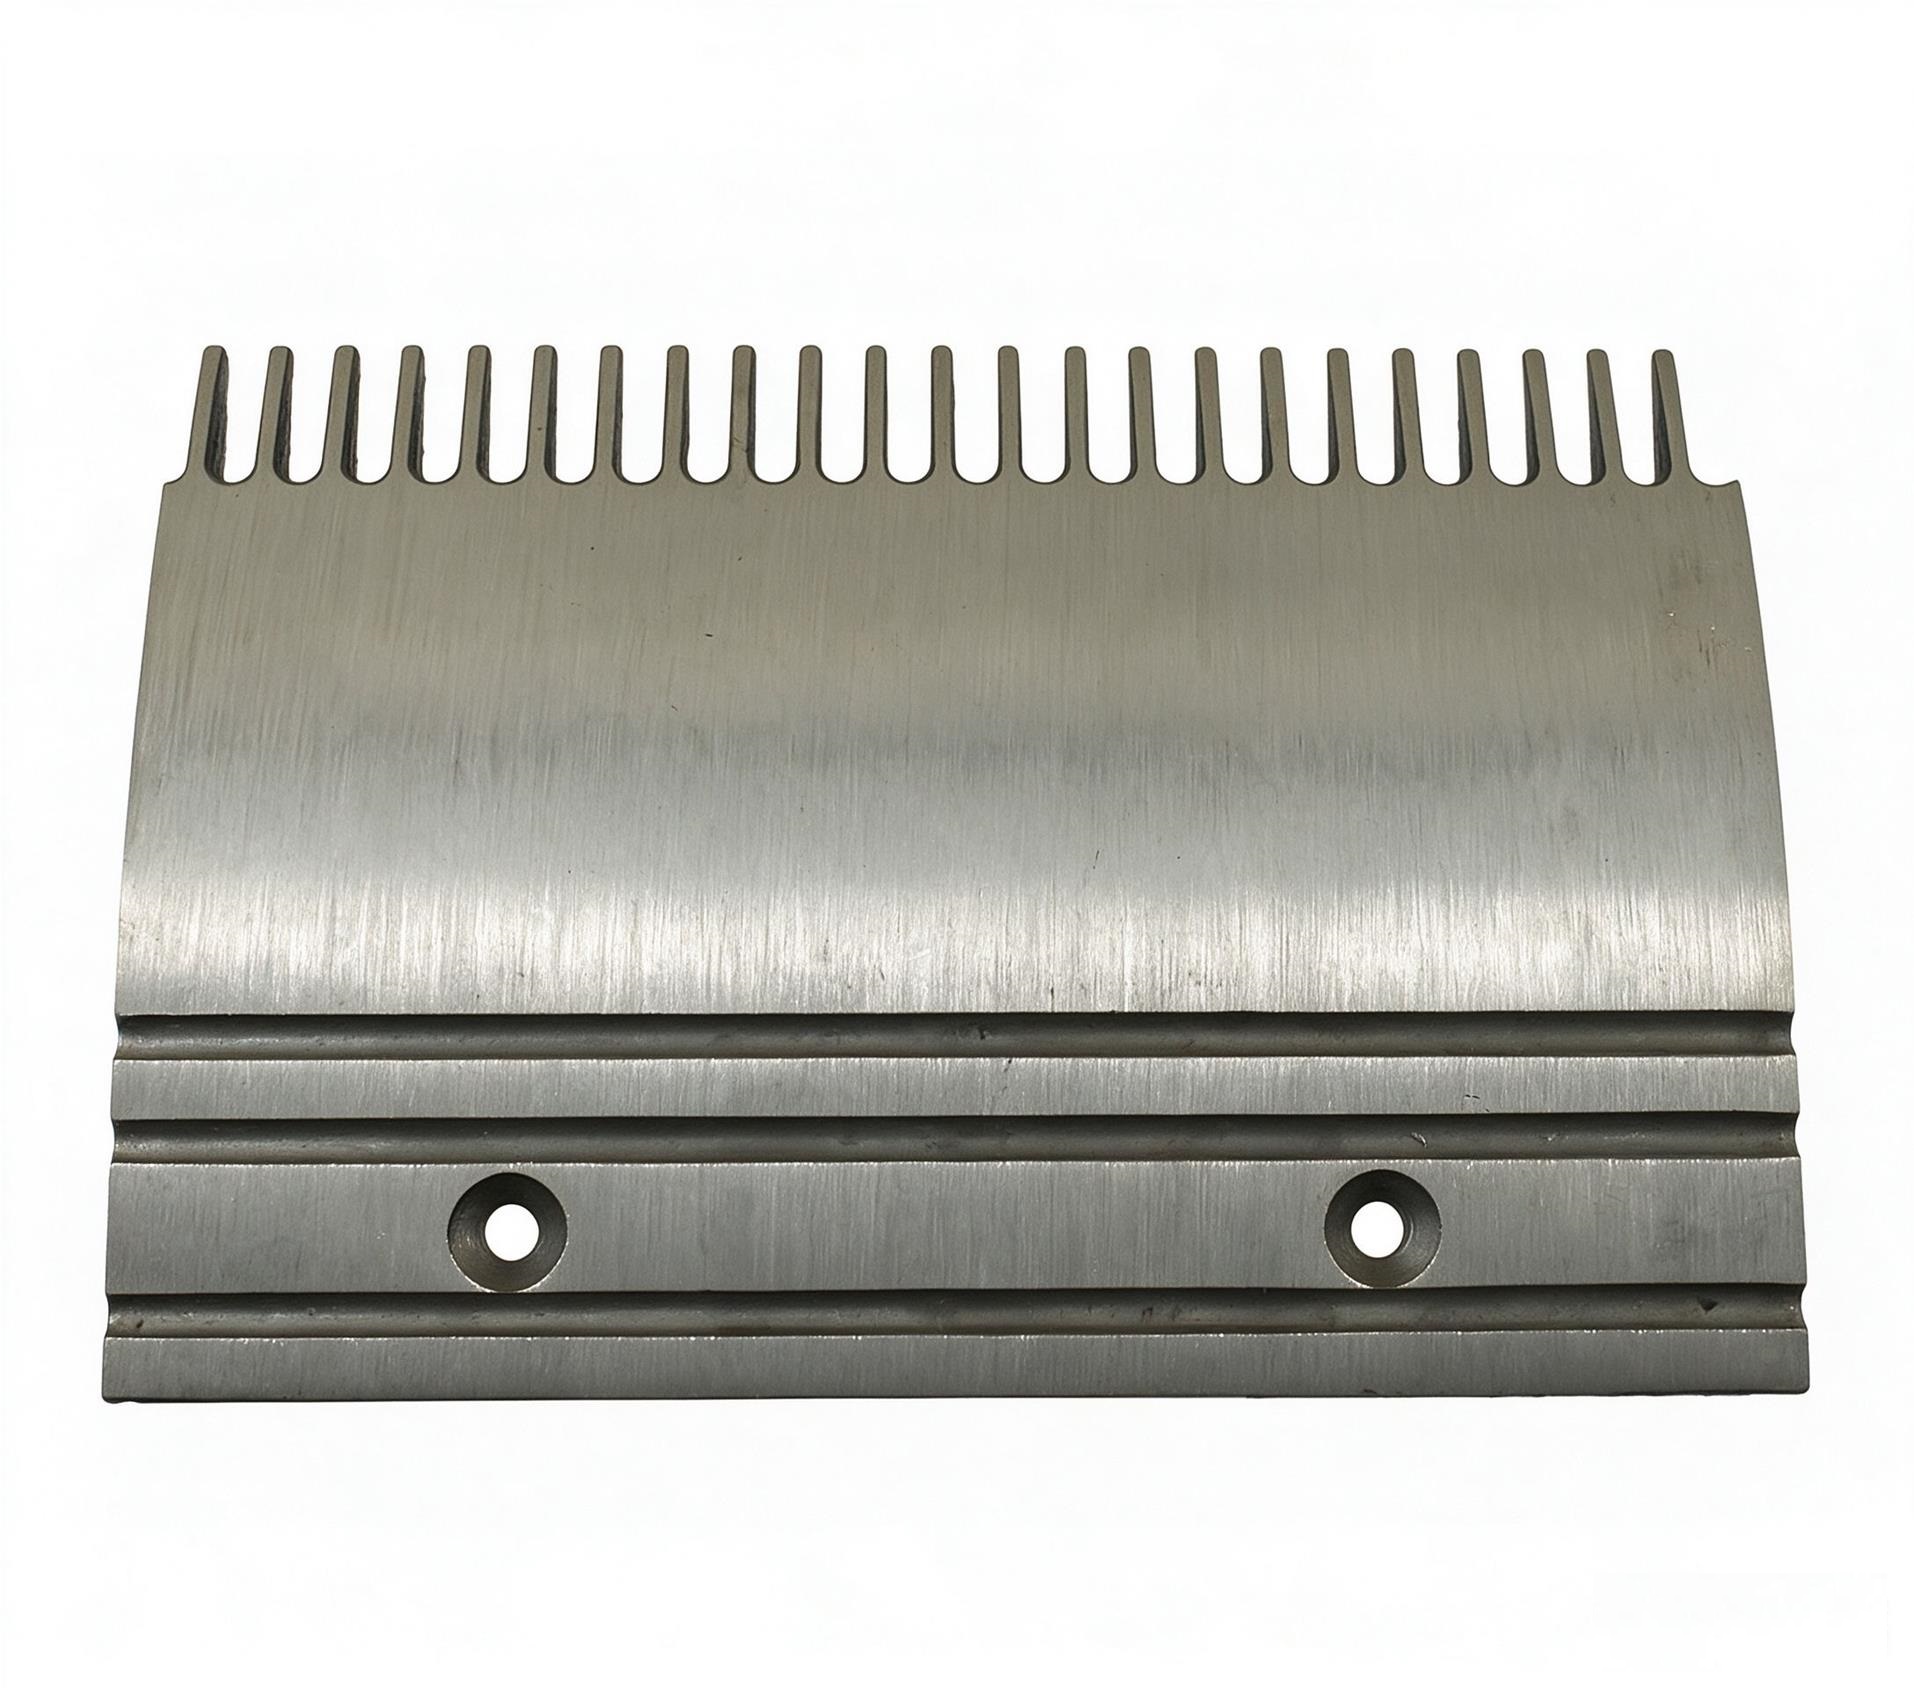
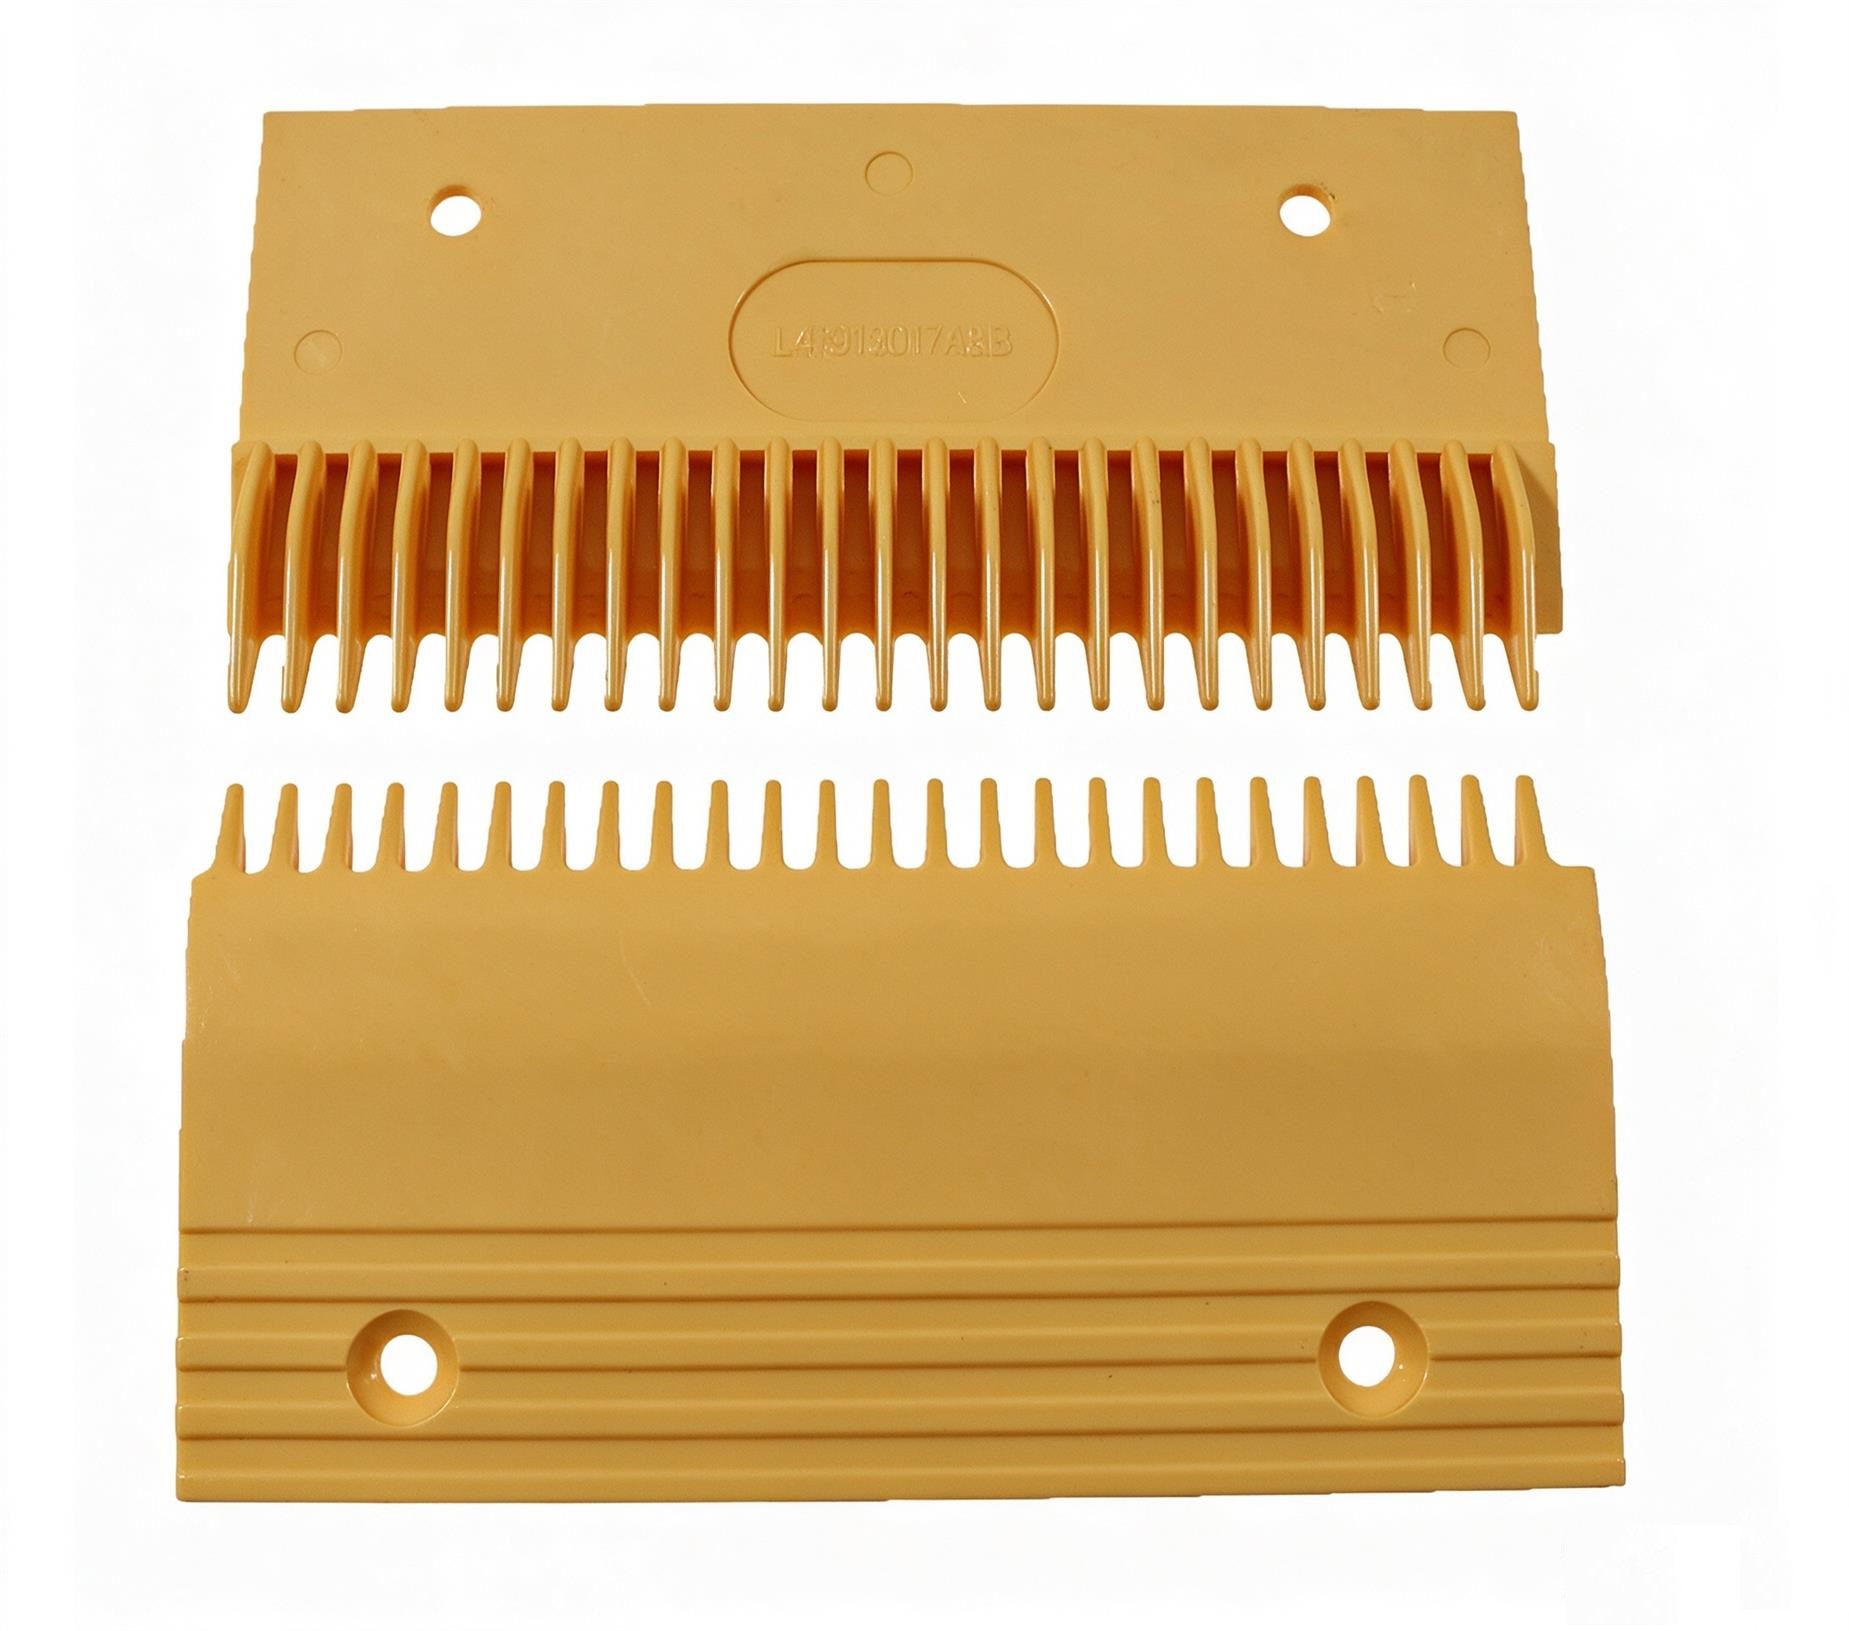
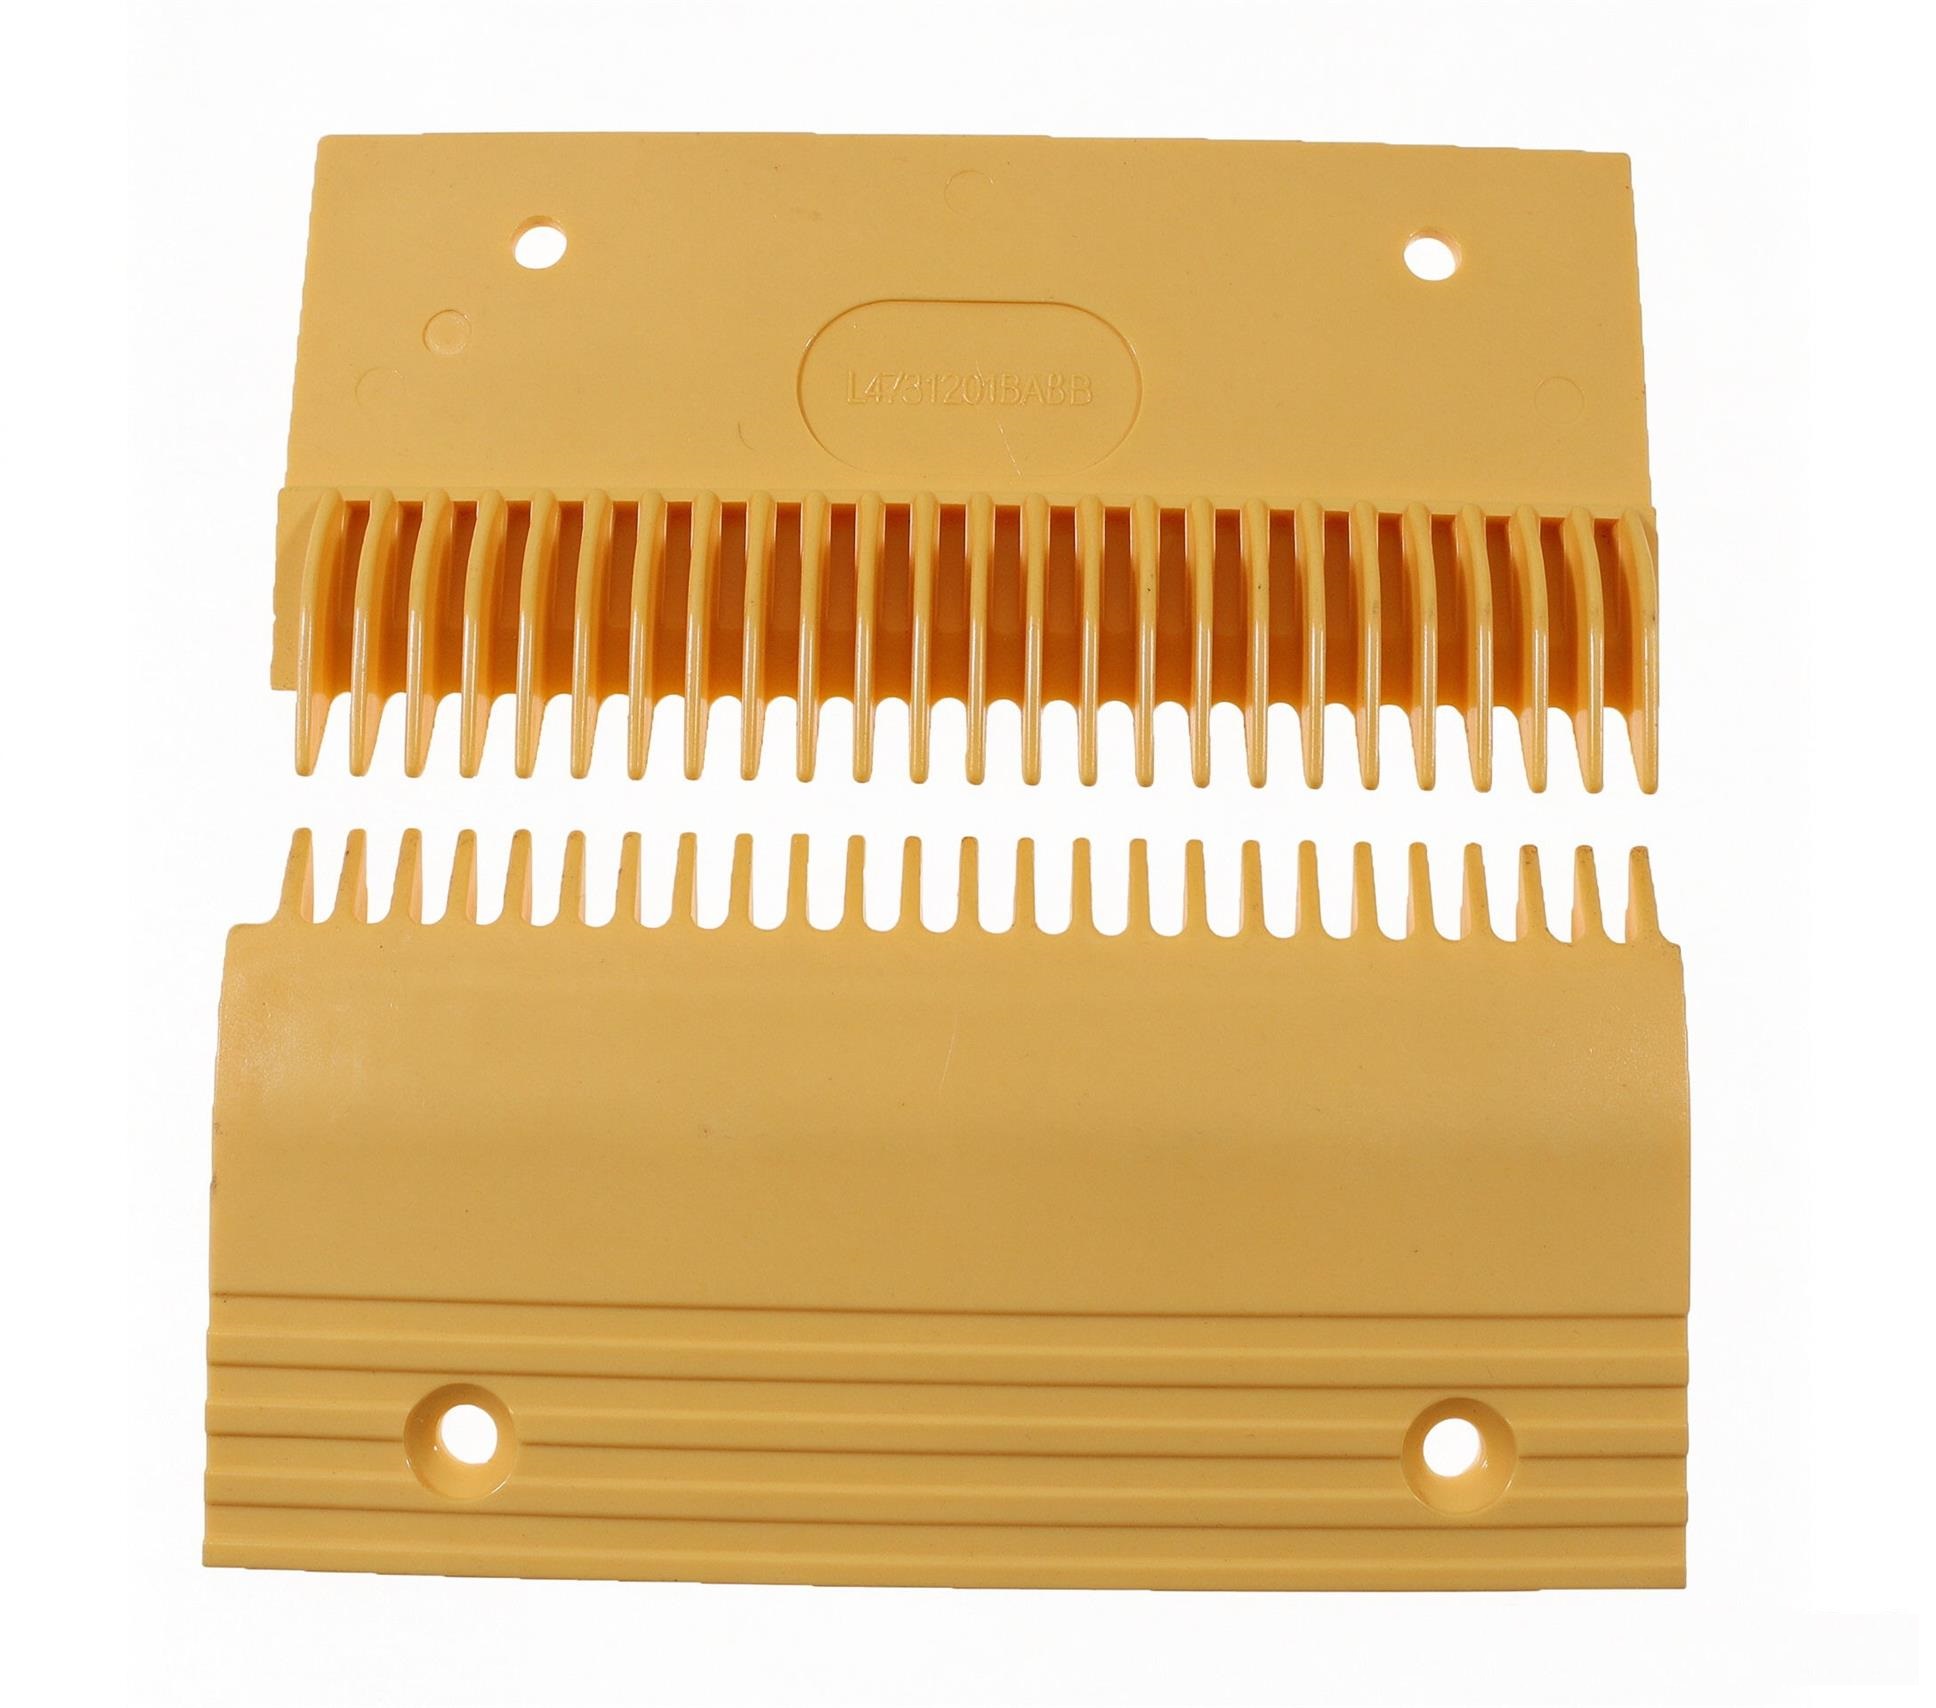
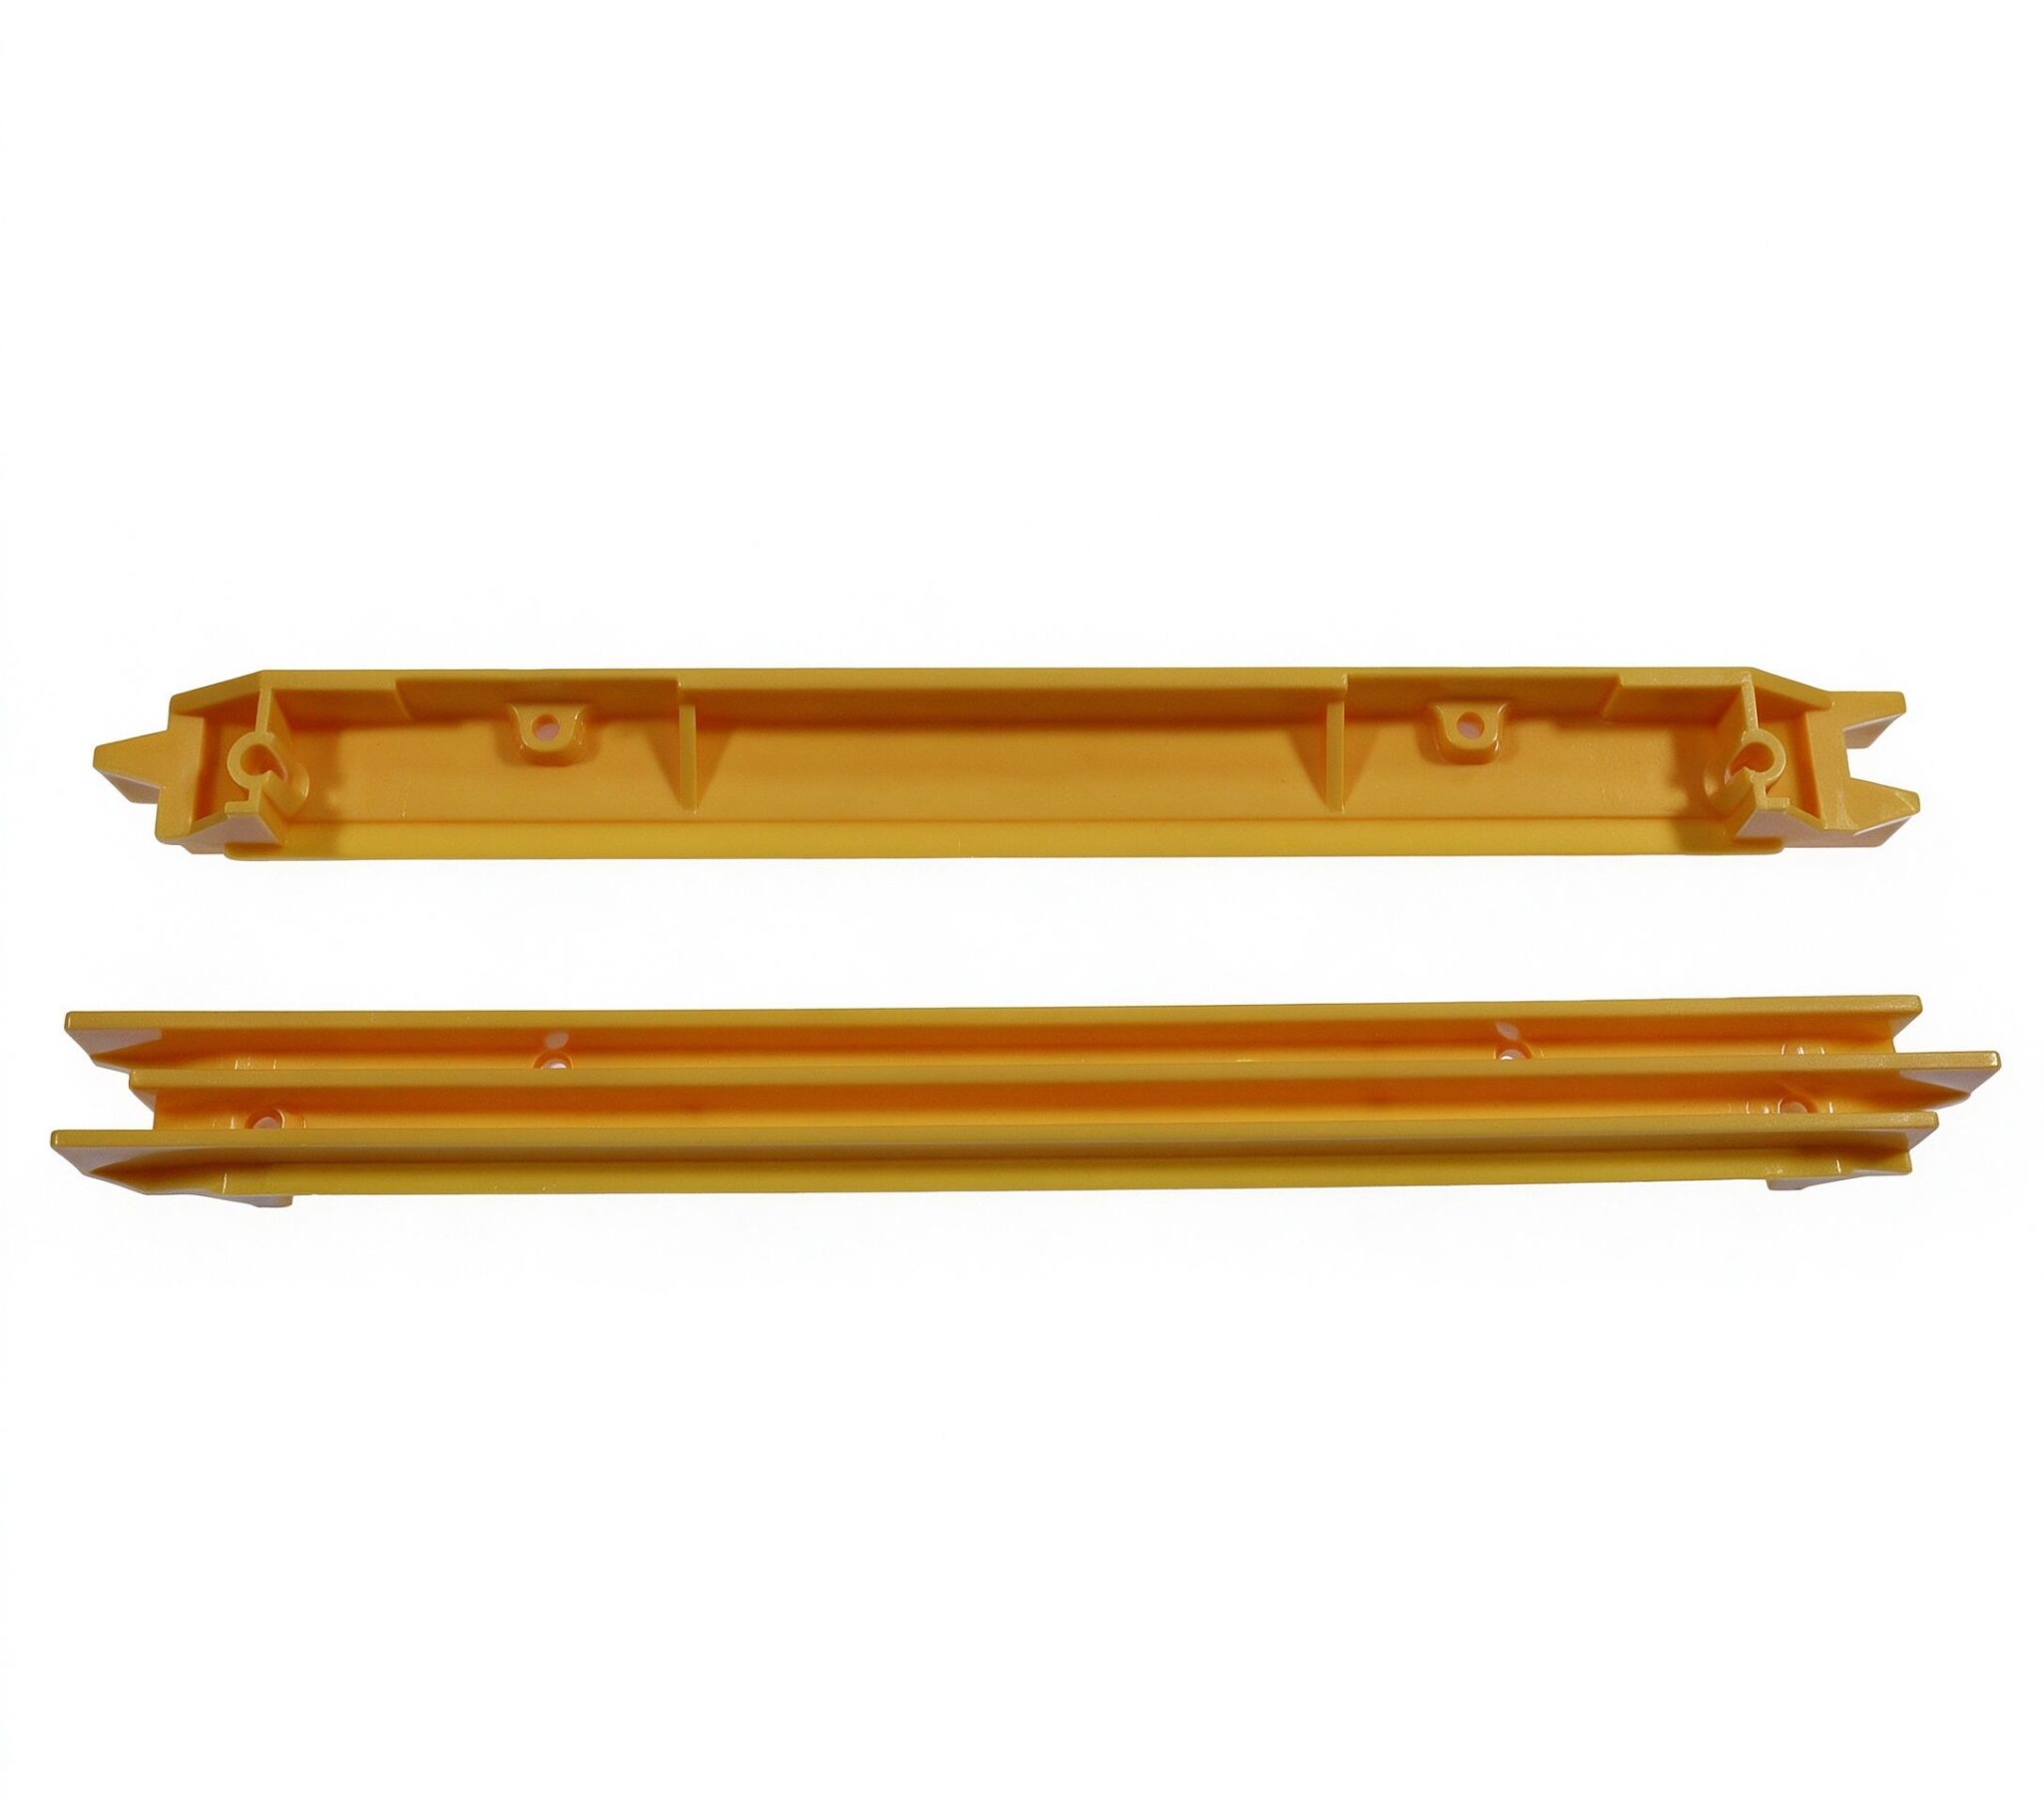
Escalator Step Plastic Edge Trim Installation Instructions
- Pre-Installation Safety & Preparation
- Cut off the escalator main power supply and place a safety warning sign to avoid accidental startup.
- Prepare matching step plastic edge trims, professional tools and protective gloves.
- Inspect new trims for cracks, deformation or color difference to ensure complete compatibility.
- Clean the step edge groove thoroughly to remove dust, dirt and residual debris.
- Remove Old Edge Trim
- Move the target escalator step to a convenient maintenance position.
- Gently pry off the worn, broken or aging plastic edge trim along the step groove.
- Clean the mounting groove again to ensure a flat and smooth fitting surface.
- Check the step edge for damage or burrs and repair if necessary.
- New Edge Trim Installation
- Align the new plastic edge trim with the step edge groove accurately.
- Press the trim evenly from one end to the other to ensure full clamping and tight fitting.
- Confirm no warping, tilting or loose gaps between the trim and step body.
- Ensure the trim fits flush with the step surface without protrusion.
- Inspection & Test Run
- Manually rotate the escalator to run the step through the full cycle.
- Check for friction, scraping or collision with comb plate and guard parts.
- Verify the edge trim is firmly fixed without shifting or falling off.
- Power on and perform 10-minute no-load operation to confirm stable performance.
- Safety Precautions
- Installation shall be completed by professional escalator maintenance personnel.
- Never operate the escalator with loose or damaged edge trims.
- Stop operation immediately if abnormal friction or trim displacement occurs.
- Regular inspection is recommended to extend service life of edge trims.